Warning: This blog post references deprecated XetHub links and functionality. Please use as a reference only and follow our current work on Hugging Face.
August 18, 2023
Run Llama 2 on your MacBook in Minutes Using PyXet
Llama 2 is quite large (~660GB), can take a while to download, and some of you may not have extra disk space on your computer. The good news is that you don’t have to download the entire LlaMa 2 folder of models to run a specific one. We’ve mirrored the models to XetHub so that you can stream and run the specific model you want to try on your desktop with a few lines of code.
We’ll take advantage of XetHub’s ability to stream large assets to run the Llama 2 model from a MacBook.
0. Pre-requisites
Register with Meta: First and foremost, fill out Meta’s form to request access to Llama 2. The email you use here needs to match the one you use for your XetHub account.
Install XCode Command Line Tools: We’ll be using make in this tutorial and installing Xcode Command Line Tools is the simplest path forward. Type xcode-select --install in your terminal of choice to confirm your existing installation or start the download and installation!
Python 3.7+: One of the libraries we’re going to use requires Python 3.7 or greater. Check the version you have with python3 --version and use this helpful guide if you need to upgrade your version of Python.
1. Create Account & Install PyXet
Mounting models hosted on XetHub requires a free account.
Navigate to https://xethub.com/ and click Sign in with GitHub.
Follow the Quick Start page to authenticate
Once you can run xet ls xet://XetHub/Flickr30k successfully, then you know that you’re authenticated with XetHub and have the right libraries installed.
2. Clone and Compile llama.cpp
Georgi Gerganov is the original creator of llama.cpp, which can run inference for a number of LLM’s on a MacBook. Georgi created the original version in a single night, but the project has come a long way since then and expanded to form a broader community.
First, start by cloning the llama.cpp repo locally:
If you’re on an Apple computer with an Apple Silicon chip (M1, M2, etc), we highly recommend compiling using make with the following flag: LLAMA_METAL=1 make
This will compile llama.cpp so it takes advantage of the GPU, which massively speeds up the inference process.
Finally, navigate up to the folder above before the next section:
3. Mounting Llama 2 from XetHub in ~5 Seconds
Next, let’s use the xet command line tool to mount the XetHub/Llama2 repo, which contains the different model files themselves.
This operation should only take a few seconds:

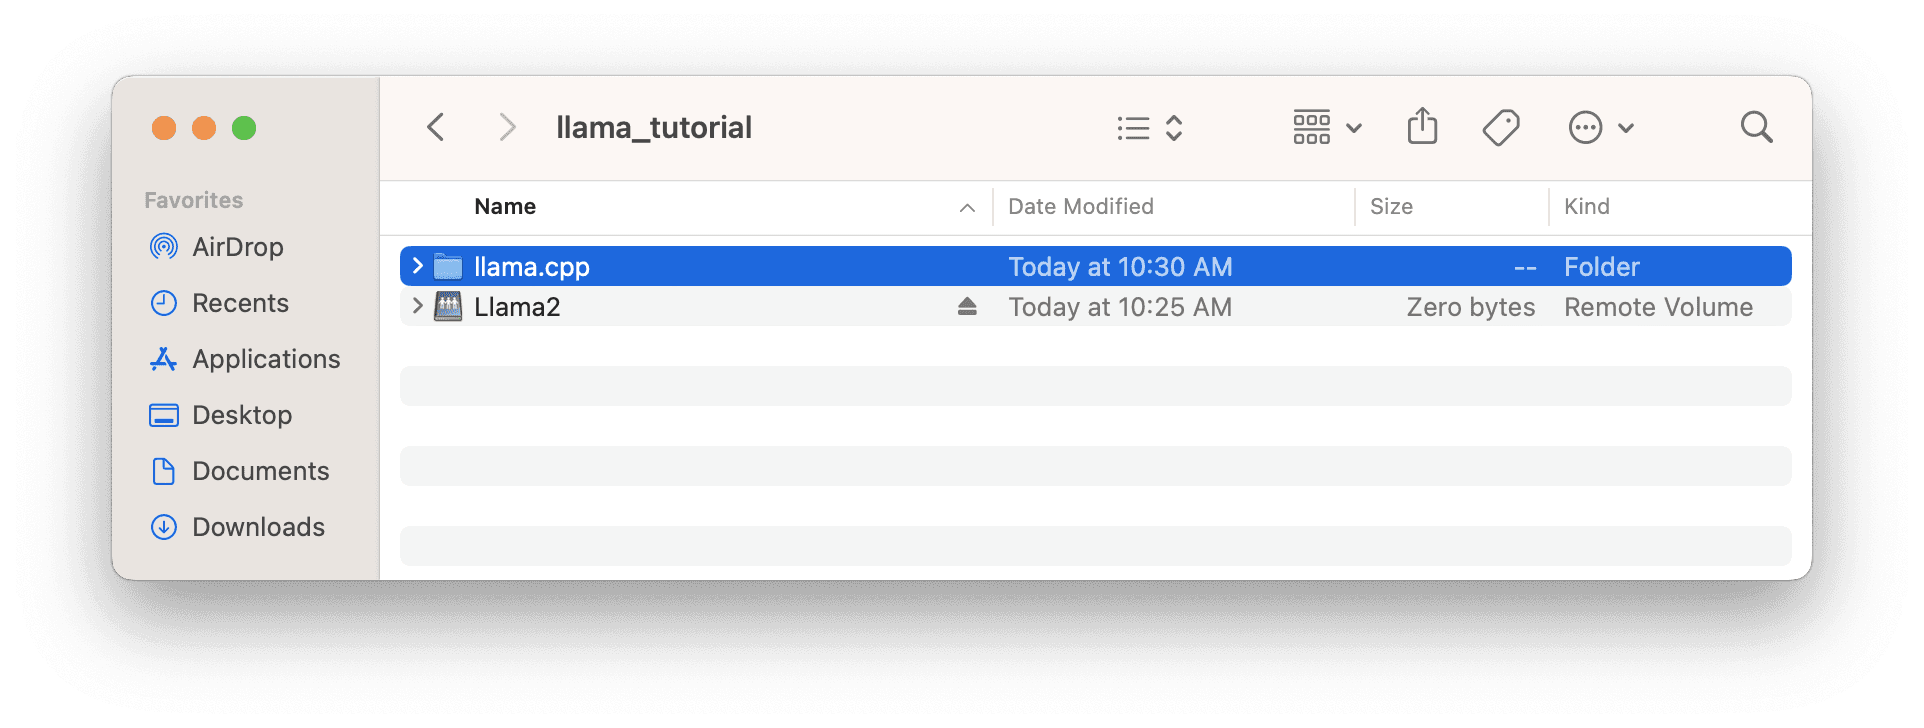
Opening Finder also confirms that the XetHub repo was mounted and not downloaded.
4. Running 🦙Llama 2
Combine everything we’ve setup to run the model and pass in a prompt.
Here’s a breakdown of the code:
llama.cpp/main -ngl 1 : when compiled appropriately, specifies the number of layers to run on the GPU (increasing performance)
--model Llama2/models/Llama-2-7B-Chat-GGML/llama-2-7b-chat.ggmlv3.q4_0.bin : path to the model we want to use for inference. In this case, we want to use the Llama-2-7B-Chat-GGML model, which is quantized to 4 bits using GGML.
--prompt "Write a recipe for mayonnaise." : the prompt we want the model to respond to
And now we wait a few minutes! Depending on your internet connection, it might take 5-10 minutes for your computer to download the model file behind the scenes the first time.
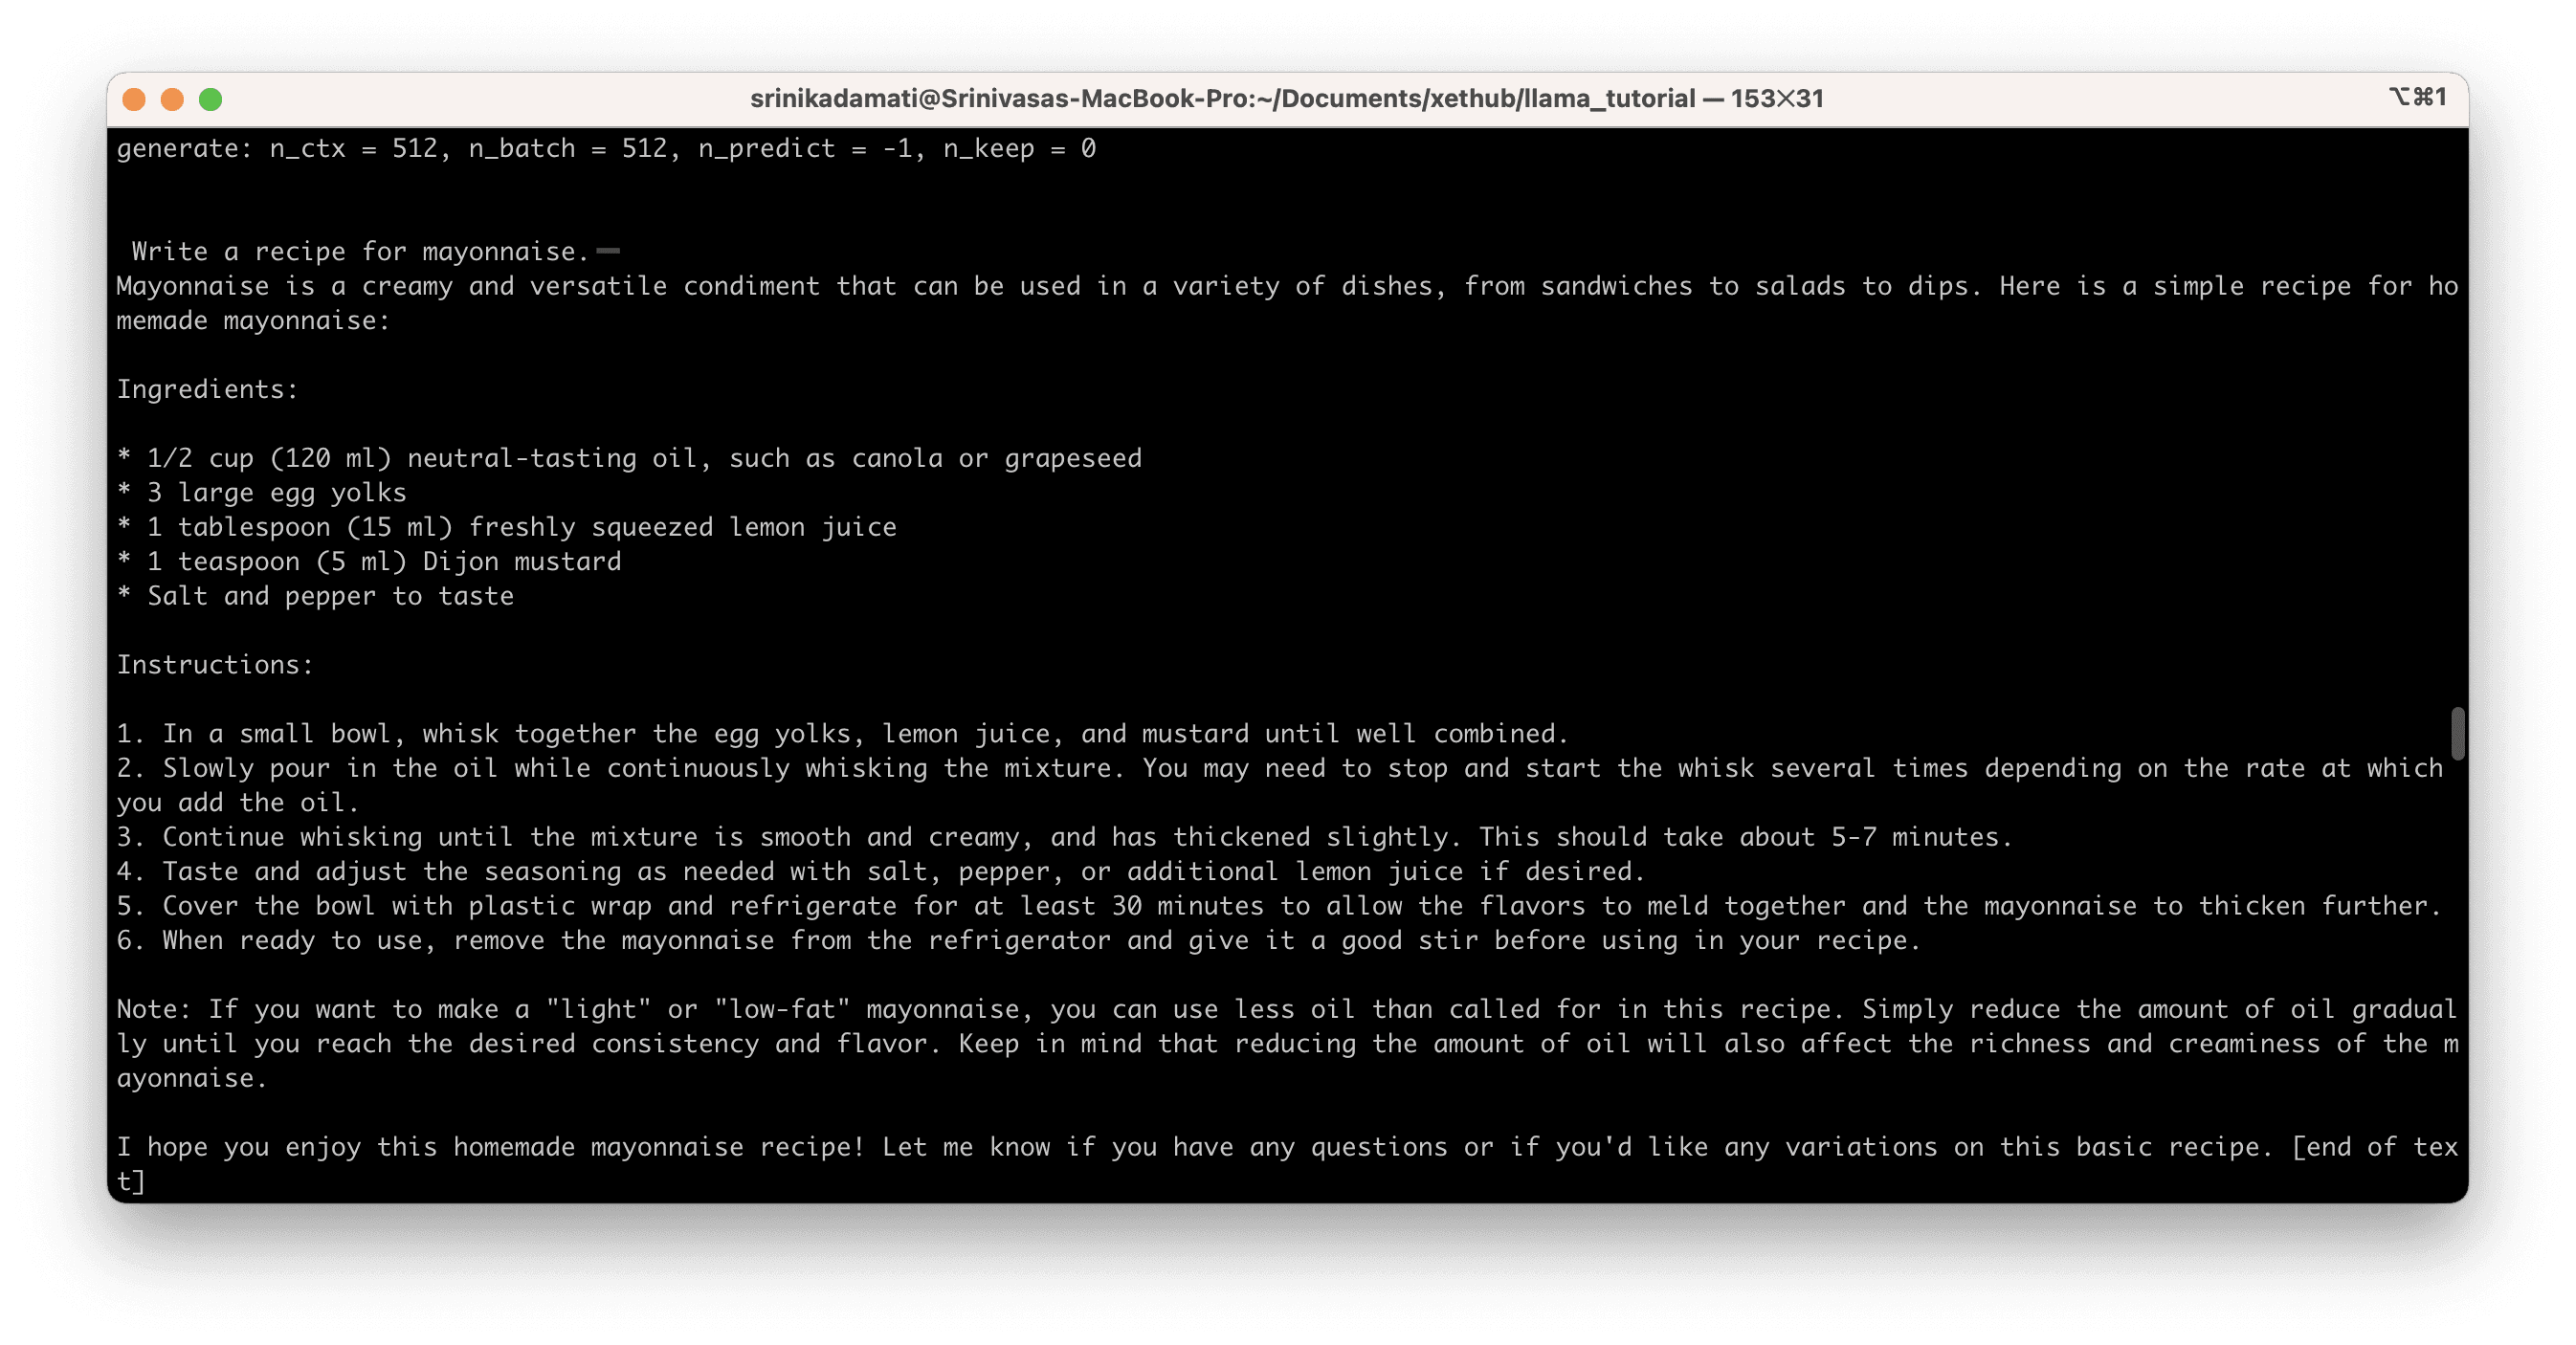
Here’s the model’s epic recipe for mayo:
Then, let’s take a look at how long it took to load the model from XetHub. Towards the end of the shell output, you will see the following:
The line llama_print_timings reflects the number of milliseconds that the program needed to load the model, but most of the time was spent waiting for PyXet to download and cache the model file. If we convert 357134.67 ms to minutes, it works out to just under 6 minutes.
Let’s run the model again with a new prompt and observe the time it takes:
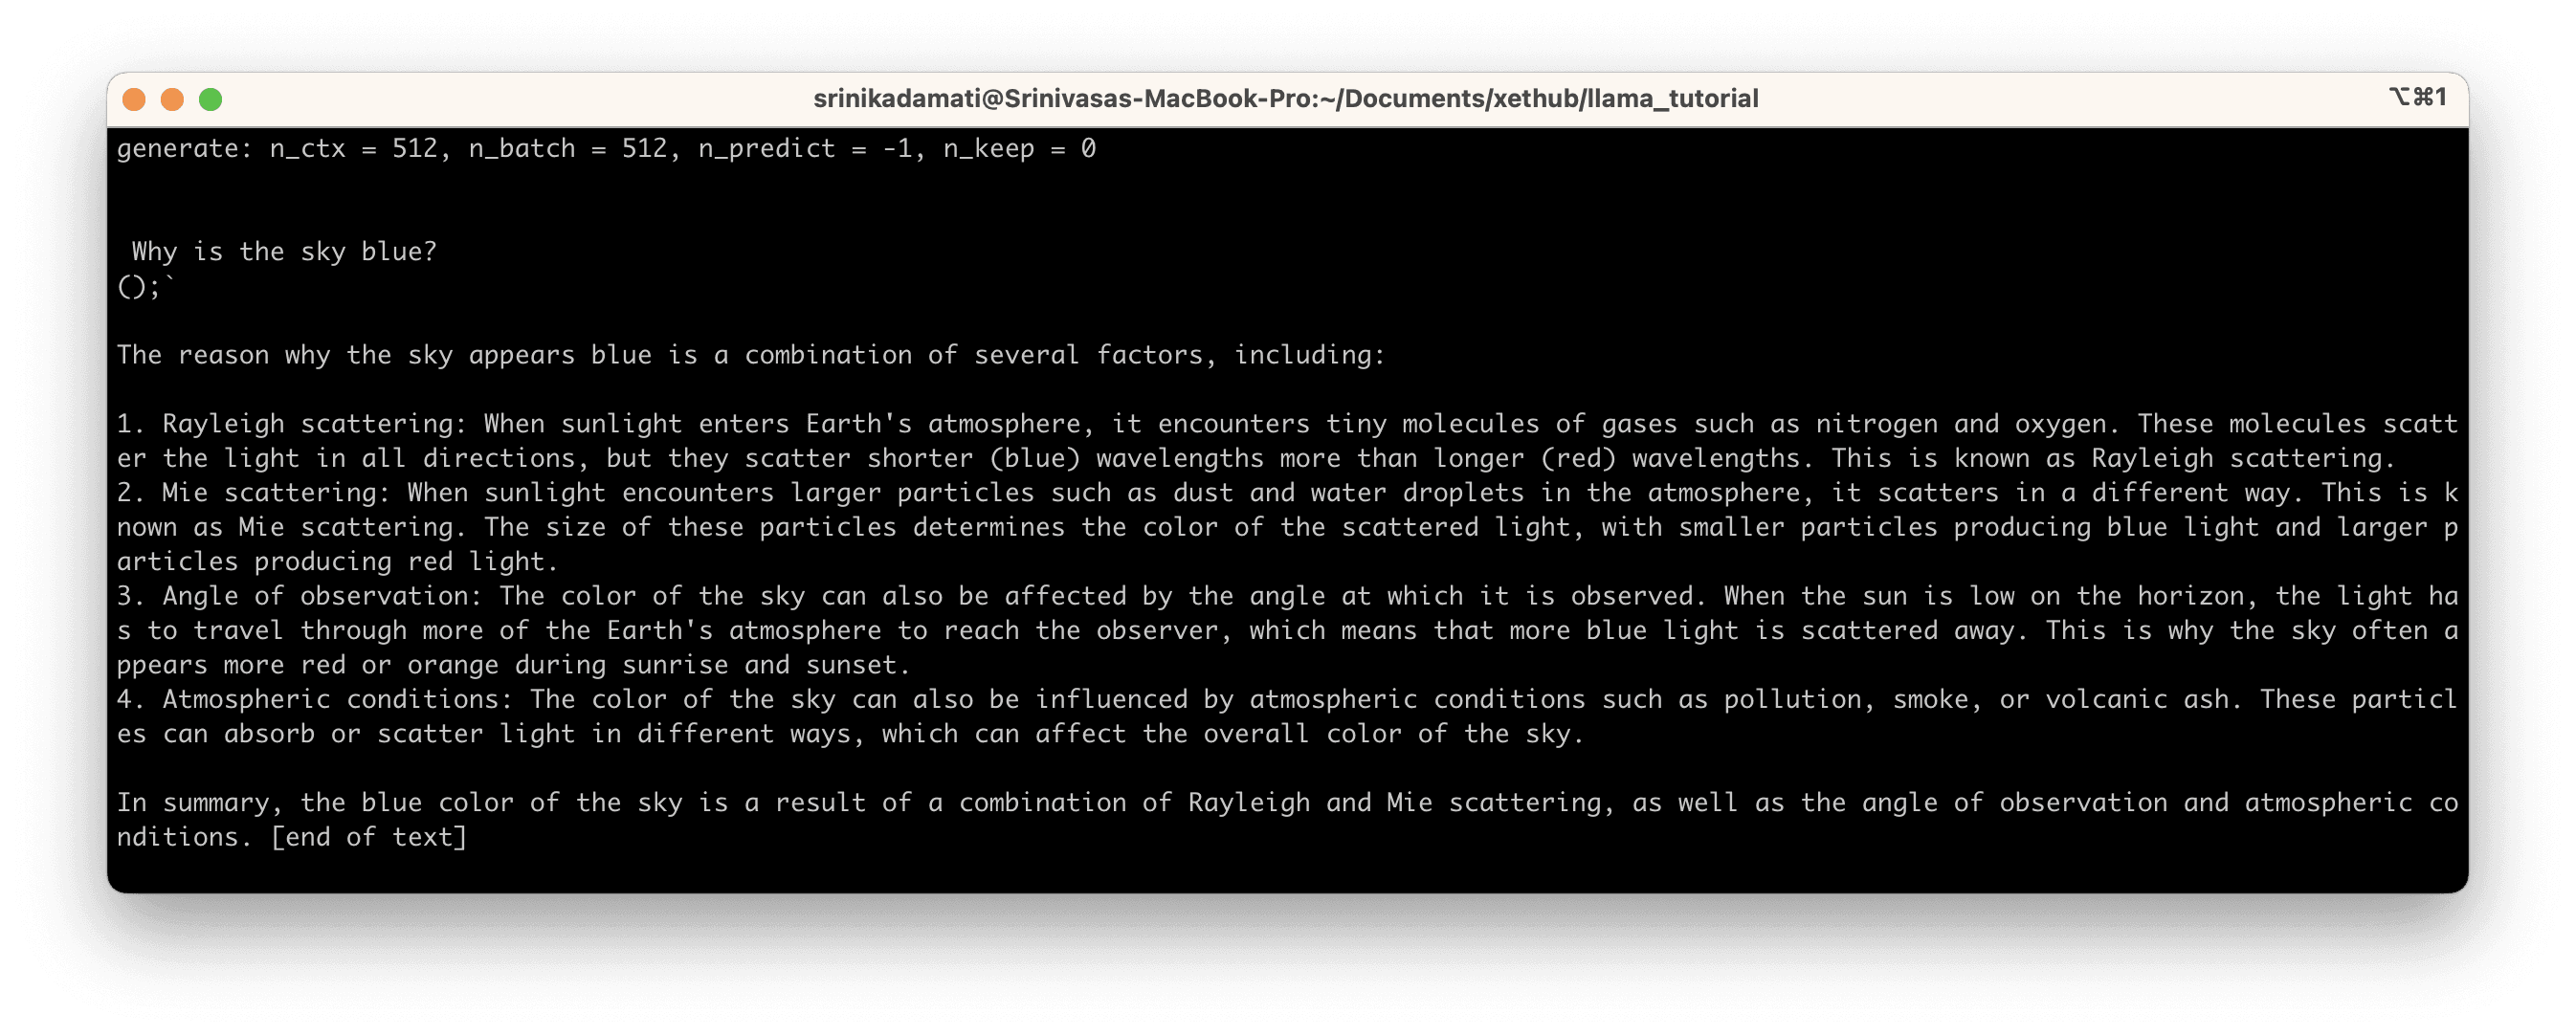
The model returns a satisfactory explanation:
At the end of the output, we see:
Now that our model is cached locally, the subsequent inference only took 245.28 ms or ~0.25 seconds.
Troubleshooting Xet Issues
If running the model takes over 20 minutes and you know you have a decent internet connection (300+ MBPS), then I recommend using CTRL + C to try aborting or kill the Python process in Activity Monitor manually. Then, delete your cache (~/.xet/cache) and try re-running from step 3 in this post.
Next Steps
What else can you use XetHub for?
XetHub is a versioned blob store built for ML teams. You can copy terabyte scale datasets, ML models, etc from S3, Git LFS, or another data repo and get the same benefits of mounting and streaming those files to your machine. Branches enable you to make changes and compare the same file between different branches. Any changes you make in the repo can be pushed back quickly thanks to block-level deduplication built into xet. Finally, you can launch Streamlit, Gradio, or custom Python apps from the data in your XetHub repos.
This XetHub workflow enables a host of cool use cases:
You can play with stable diffusion using the Stable Diffusion Text-to-Image Generator repo
You can mount and analyze the Common Crawl, StackExchange, and Wikipedia folders from the RedPajama repo

Have access to an NVIDIA Card?
Quantization is an amazing set of techniques for enabling running models on consumer hardware, but has its own limitations.
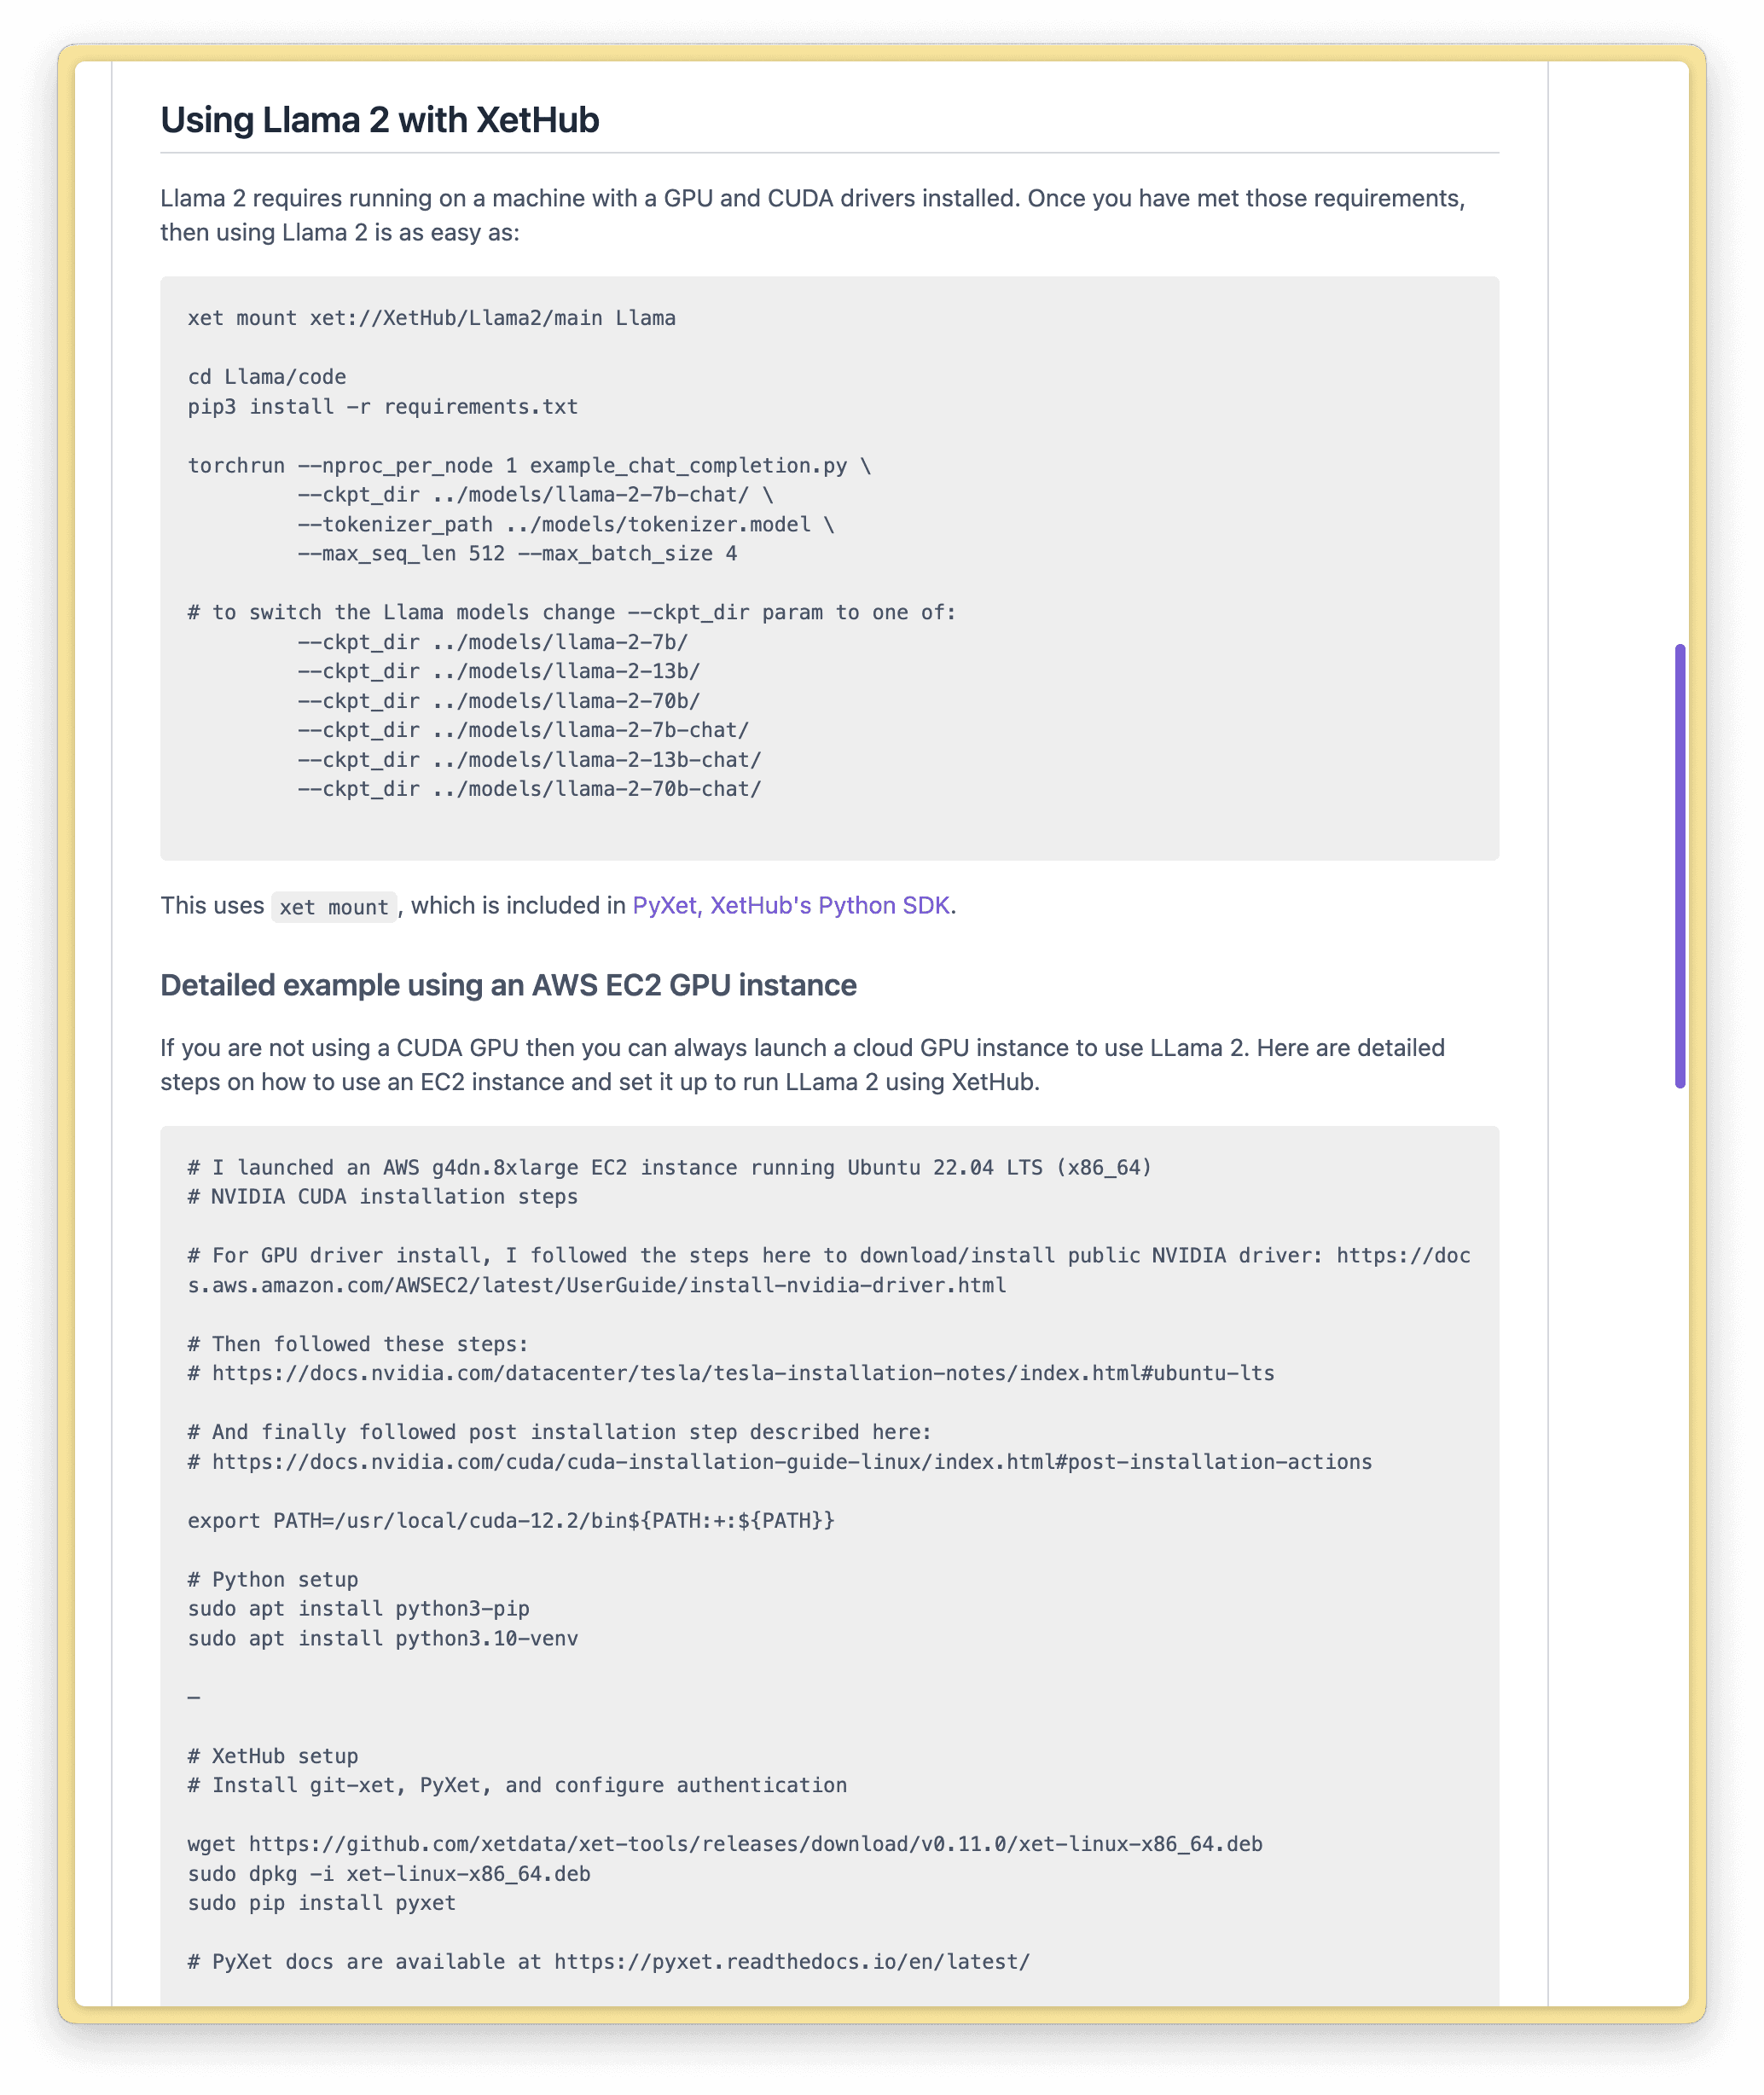
If you have access to an NVIDIA GPU and want to experiment with running un-quantized models, check out the following section in our Llama 2 repo for the instructions. You can take advantage of the same capabilities of xet and XetHub to mount and stream different models.
If you have questions or run into issues, join our Slack community to meet us and other XetHub users!
Share on


