Warning: This blog post references deprecated XetHub links and functionality. Please use as a reference only and follow our current work on Hugging Face.
November 20, 2023
No Code Git for ML Projects Inside Visual Studio Code
Introduction
XetHub scales Git to 100 terabytes so you can version large datasets and machine learning models in the same Git repos as your source code.
Unlike DVC, we aren’t trying to replace Git with a new set of commands but we instead want to help Git scale and build on top of its foundation. The benefit of our alternative approach is that XetHub works well with existing Git ecosystem tools.

In this post, we’ll showcase how you can version large Git repos from inside Visual Studio Code (or VS Code for short). VS Code is one of the most popular IDEs out there for software development. Using this approach, you can execute the most common Git commands in a helpful GUI without having to remember and run Git incantations from the command line each time.
Quick Git Refresher
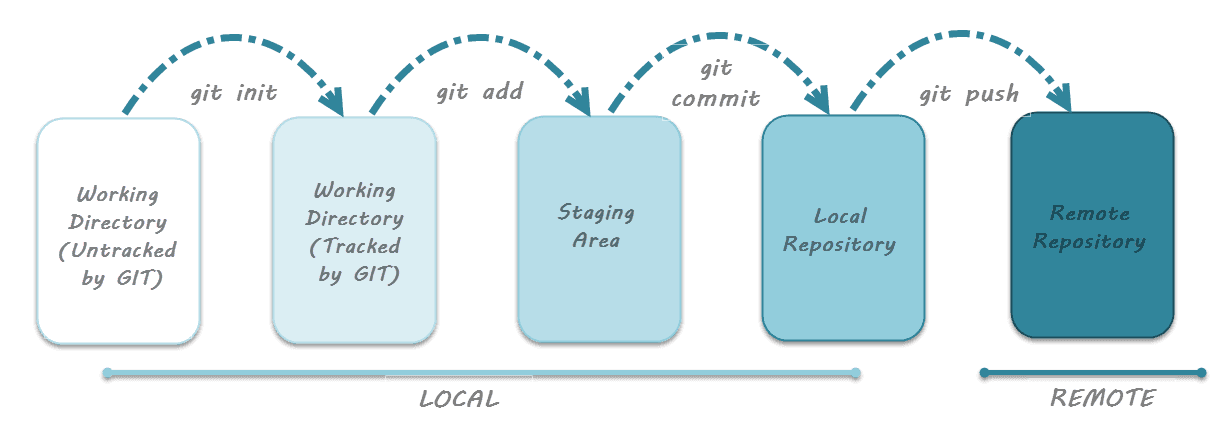
As a quick refresher, here’s a diagram that showcases the Git lifecycle for software and ML development.
In Git, a remote typically refers to a web server where your code resides. Users commonly perform actions such as git clone or git init, make file modifications, create new branches, use git add, commit changes with git commit, push their work with git push, and eventually merge the new branch into the main branch.
Choose your Remote
There are 2 different ways you can experience this no-code Git workflow for machine learning.
Host entire Git repos on XetHub
XetHub is a batteries included platform for the machine learning development lifecycle. You can create Git repos and store your source code, datasets, models, etc and we will host them for you. You can signup here for an account if you don’t have one and then make your first repo.

Host Git repos on GitHub. Have GitHub manage your code have us manage large files
Alternatively, you can continue hosting your Git repos on GitHub and instead seamlessly push large files to our servers instead. Unlike DVC or Git LFS (which push hashes of large files to GitHub), our GitHub app will then inject useful context into these large files in commits and pull requests.

You can learn more about how this works in our helpful blog post.
VS Code Git Workflow
Pre-requisite
Before getting started, install our git-xet extension using these installation instructions. This extension helps us deduplicate changes to large files more efficiently and push those changes to our servers. This should take under a minute to install.
Git Clone
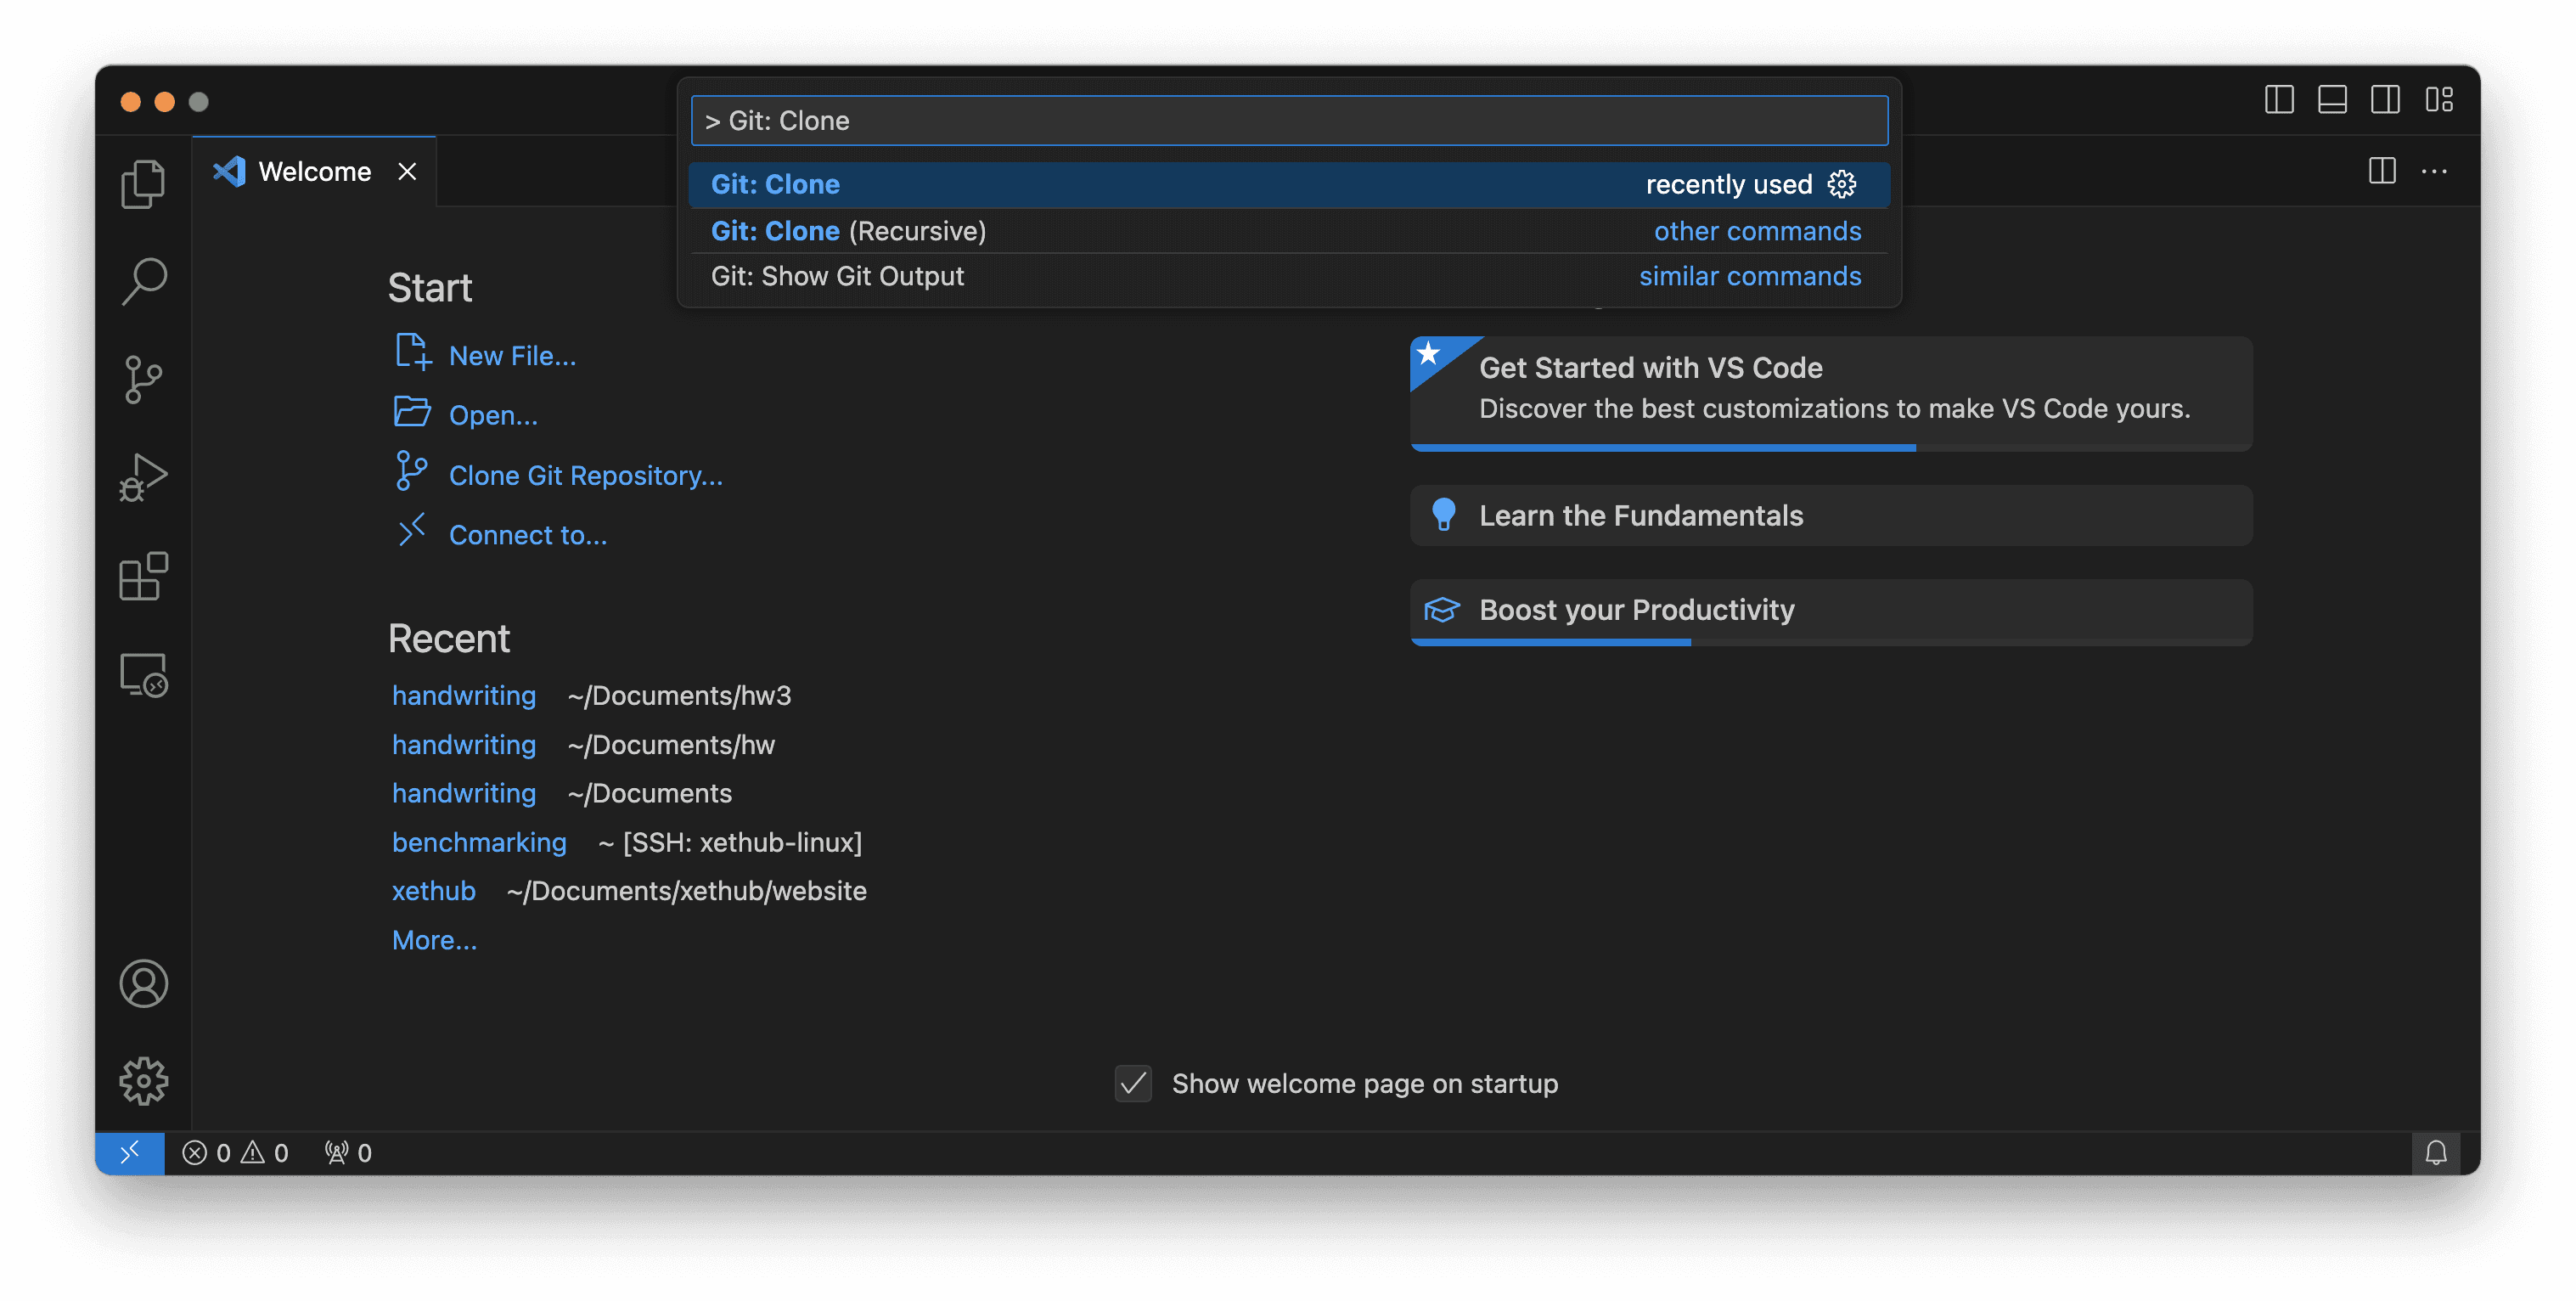
Open VS Code and fire up the command palette using Cmd + Shift + P (or Ctrl + Shift + P for Windows). Then, type "Git: Clone" and press Enter.
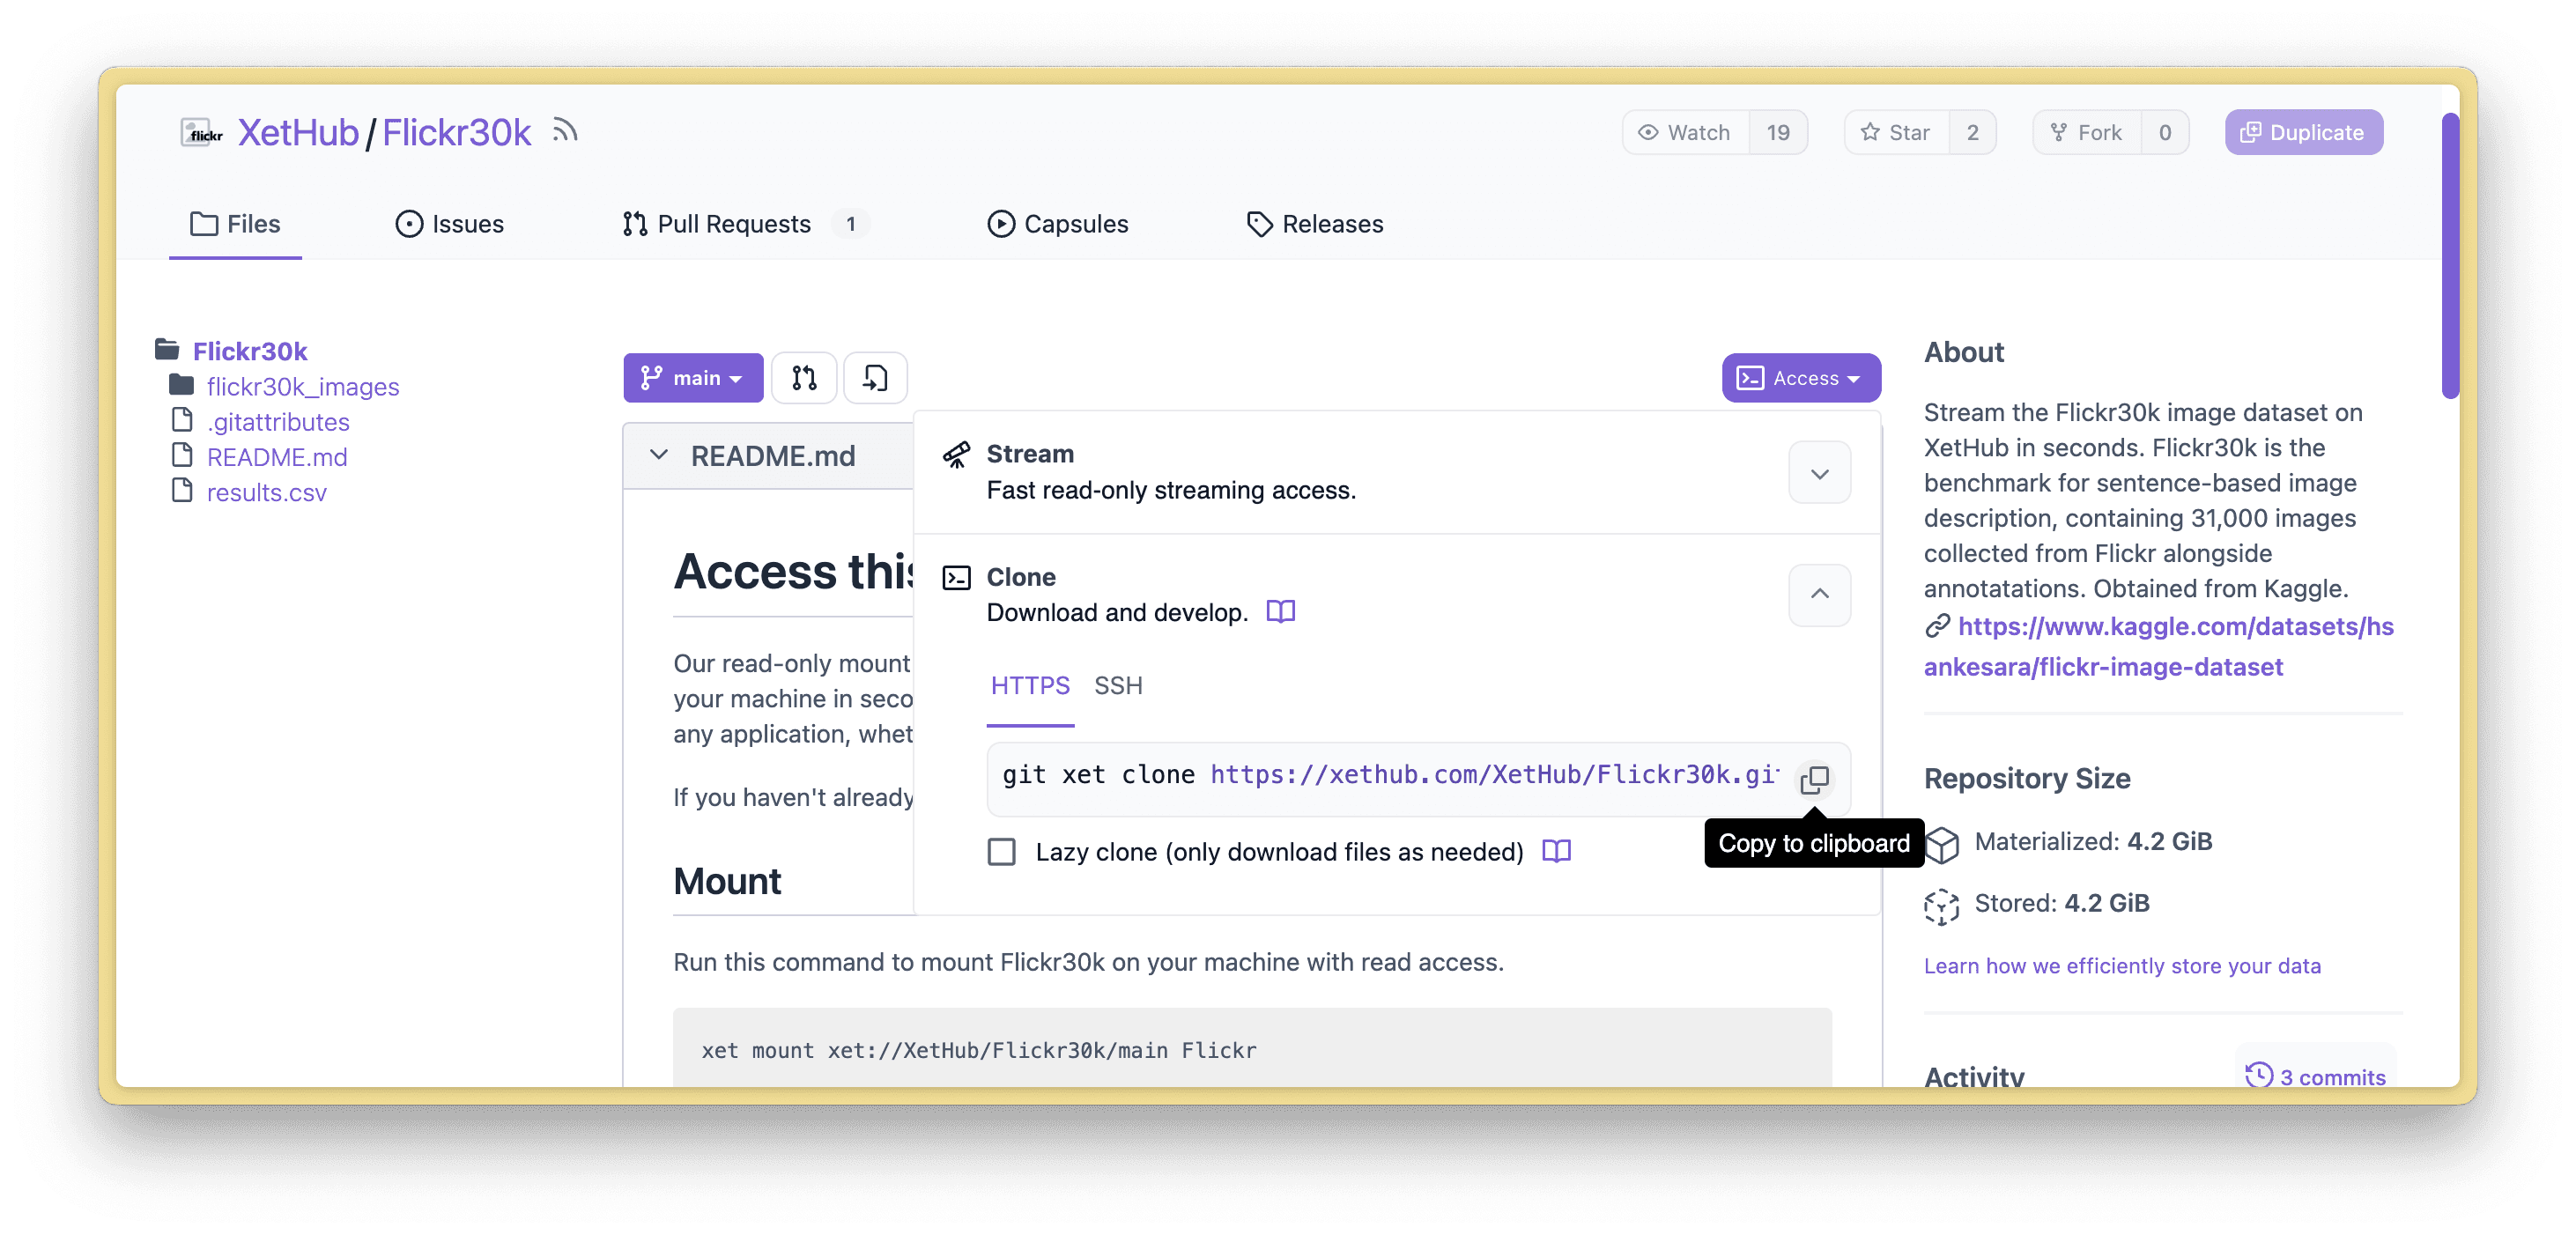
If your repo is entirely hosted on xethub.com, you can find this URL here:
If your repo is hosted on GitHub, you can find the repo URL here:
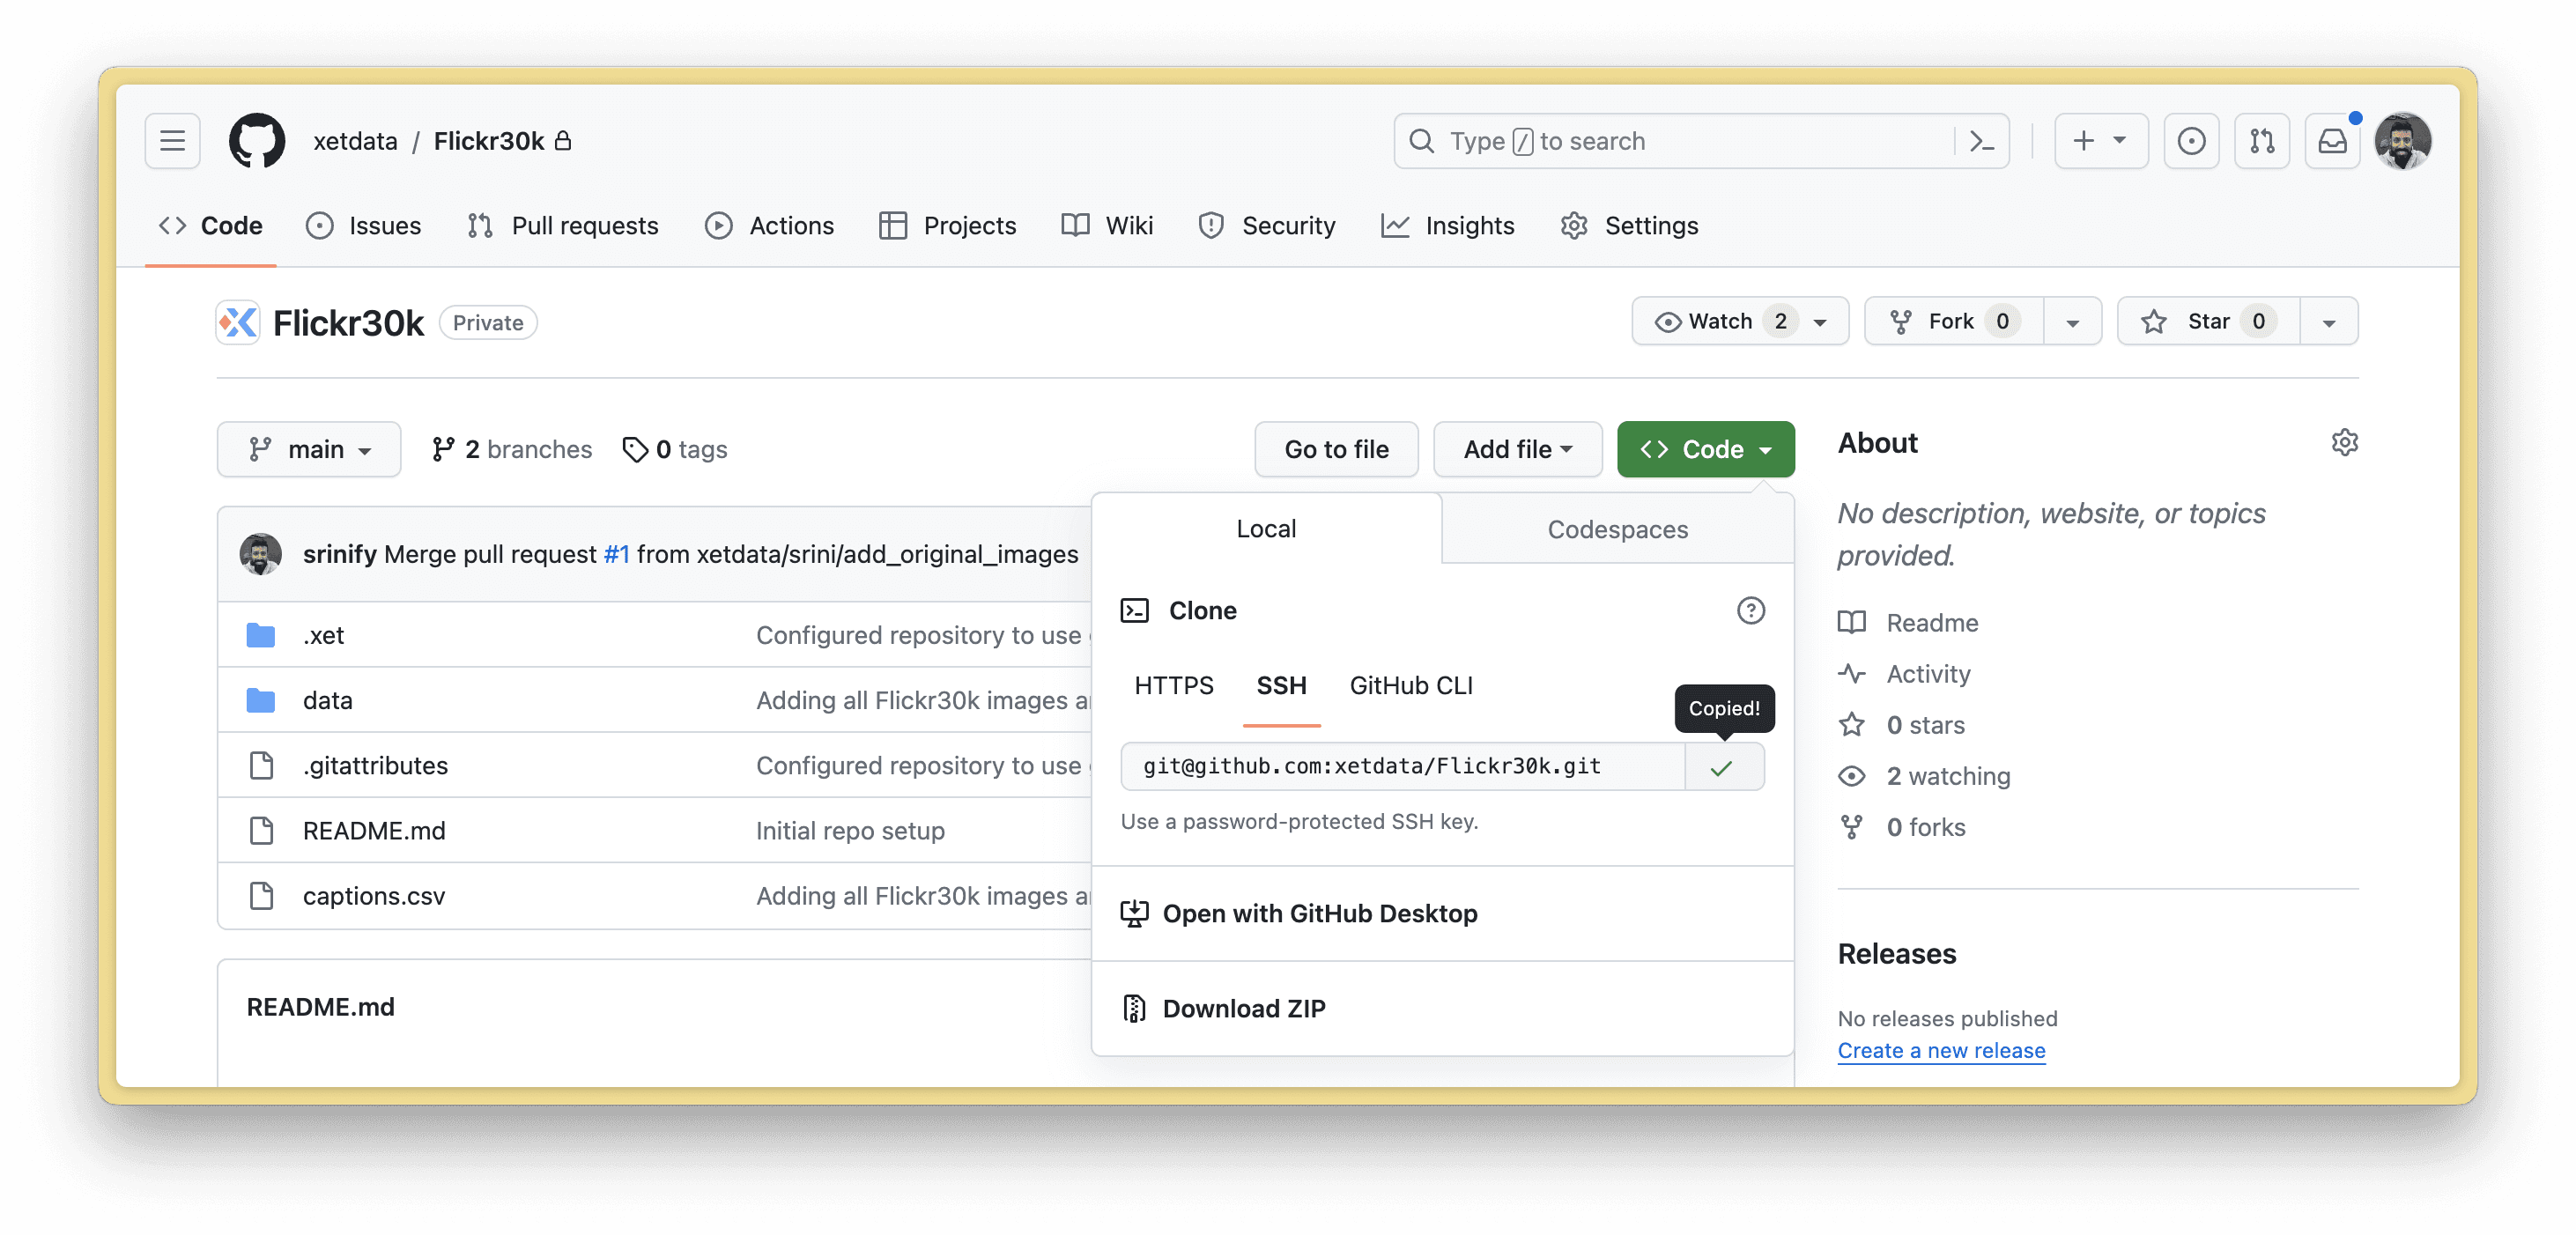
You can use either HTTPS or SSH for cloning in VS Code.
Then, click "Clone From URL" and follow the prompts to choose the destination where you want to save the repository. Then, VS Code will work with Git & Git-Xet behind the scenes to handle the rest.
If you have a passphrase for your SSH key, note that you may be asked 4 times for the password. This is because the Git-Xet client needs to make multiple calls to GitHub and our servers to download your code and data. We recommend using a password keychain so this password is only asked once.
Git Checkout and Commit
Now, instead of having to run Git commands in your terminal, you can leverage the GUI built into VS Code to create new branches, add changes, commit, and push back to your remote.
Open the Source Control tab to find an overview of changed files, current branches, and remotes. By default, this will be empty since you're on the main branch with no staged changes.
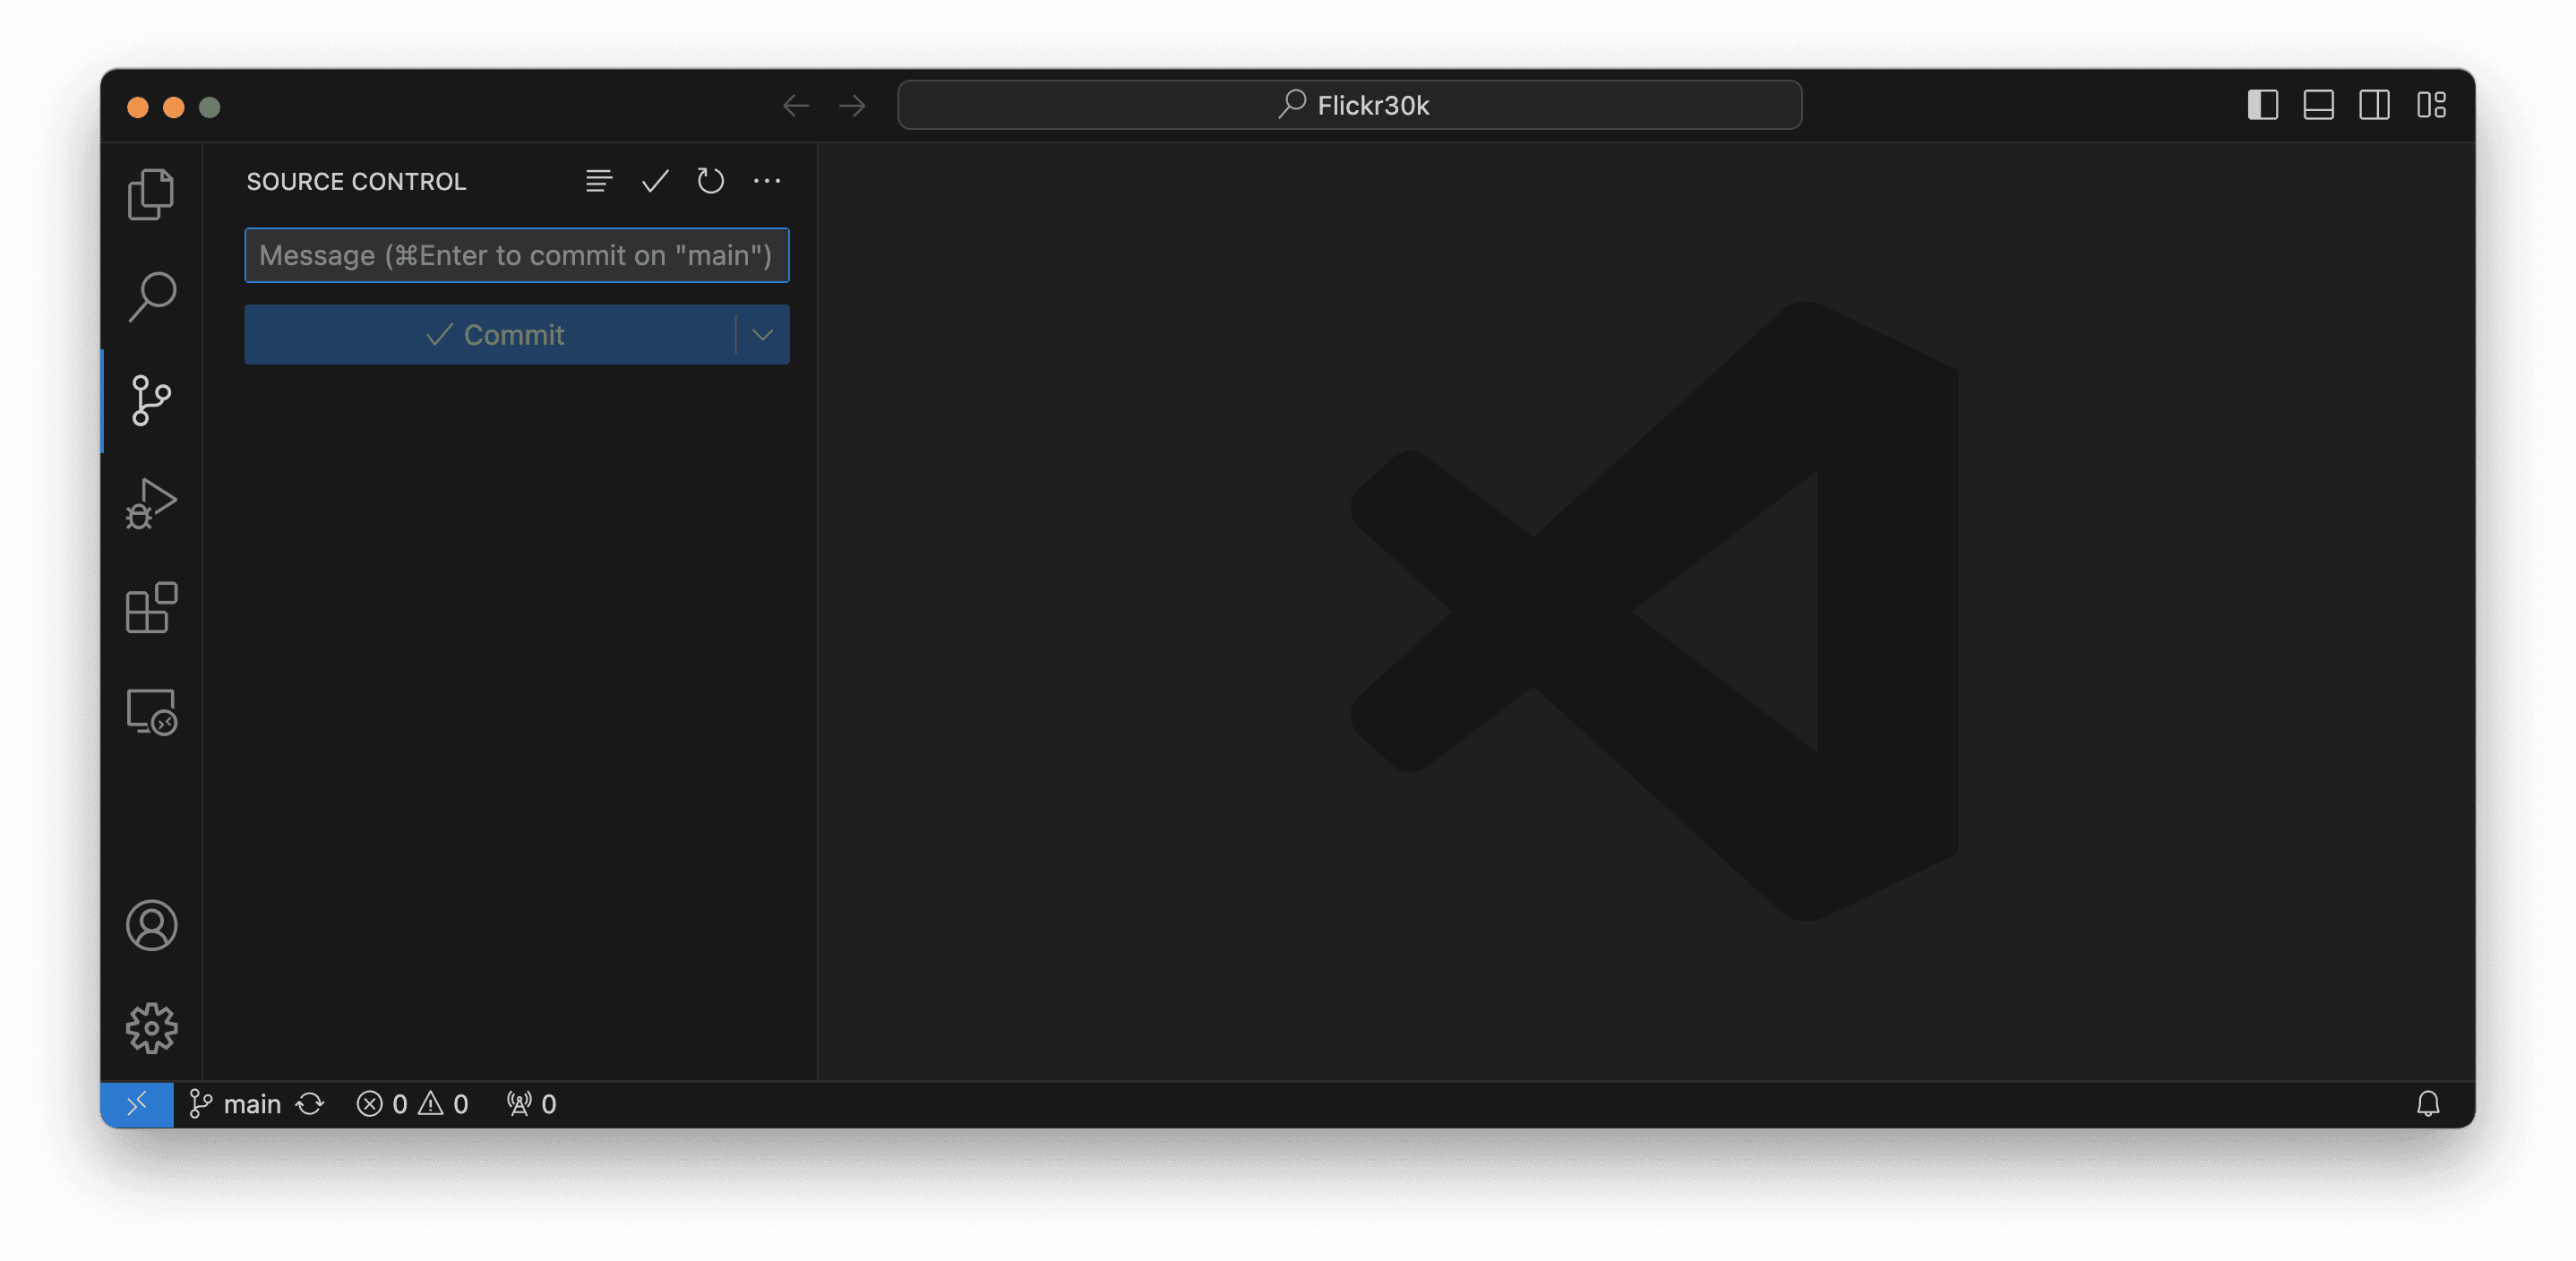
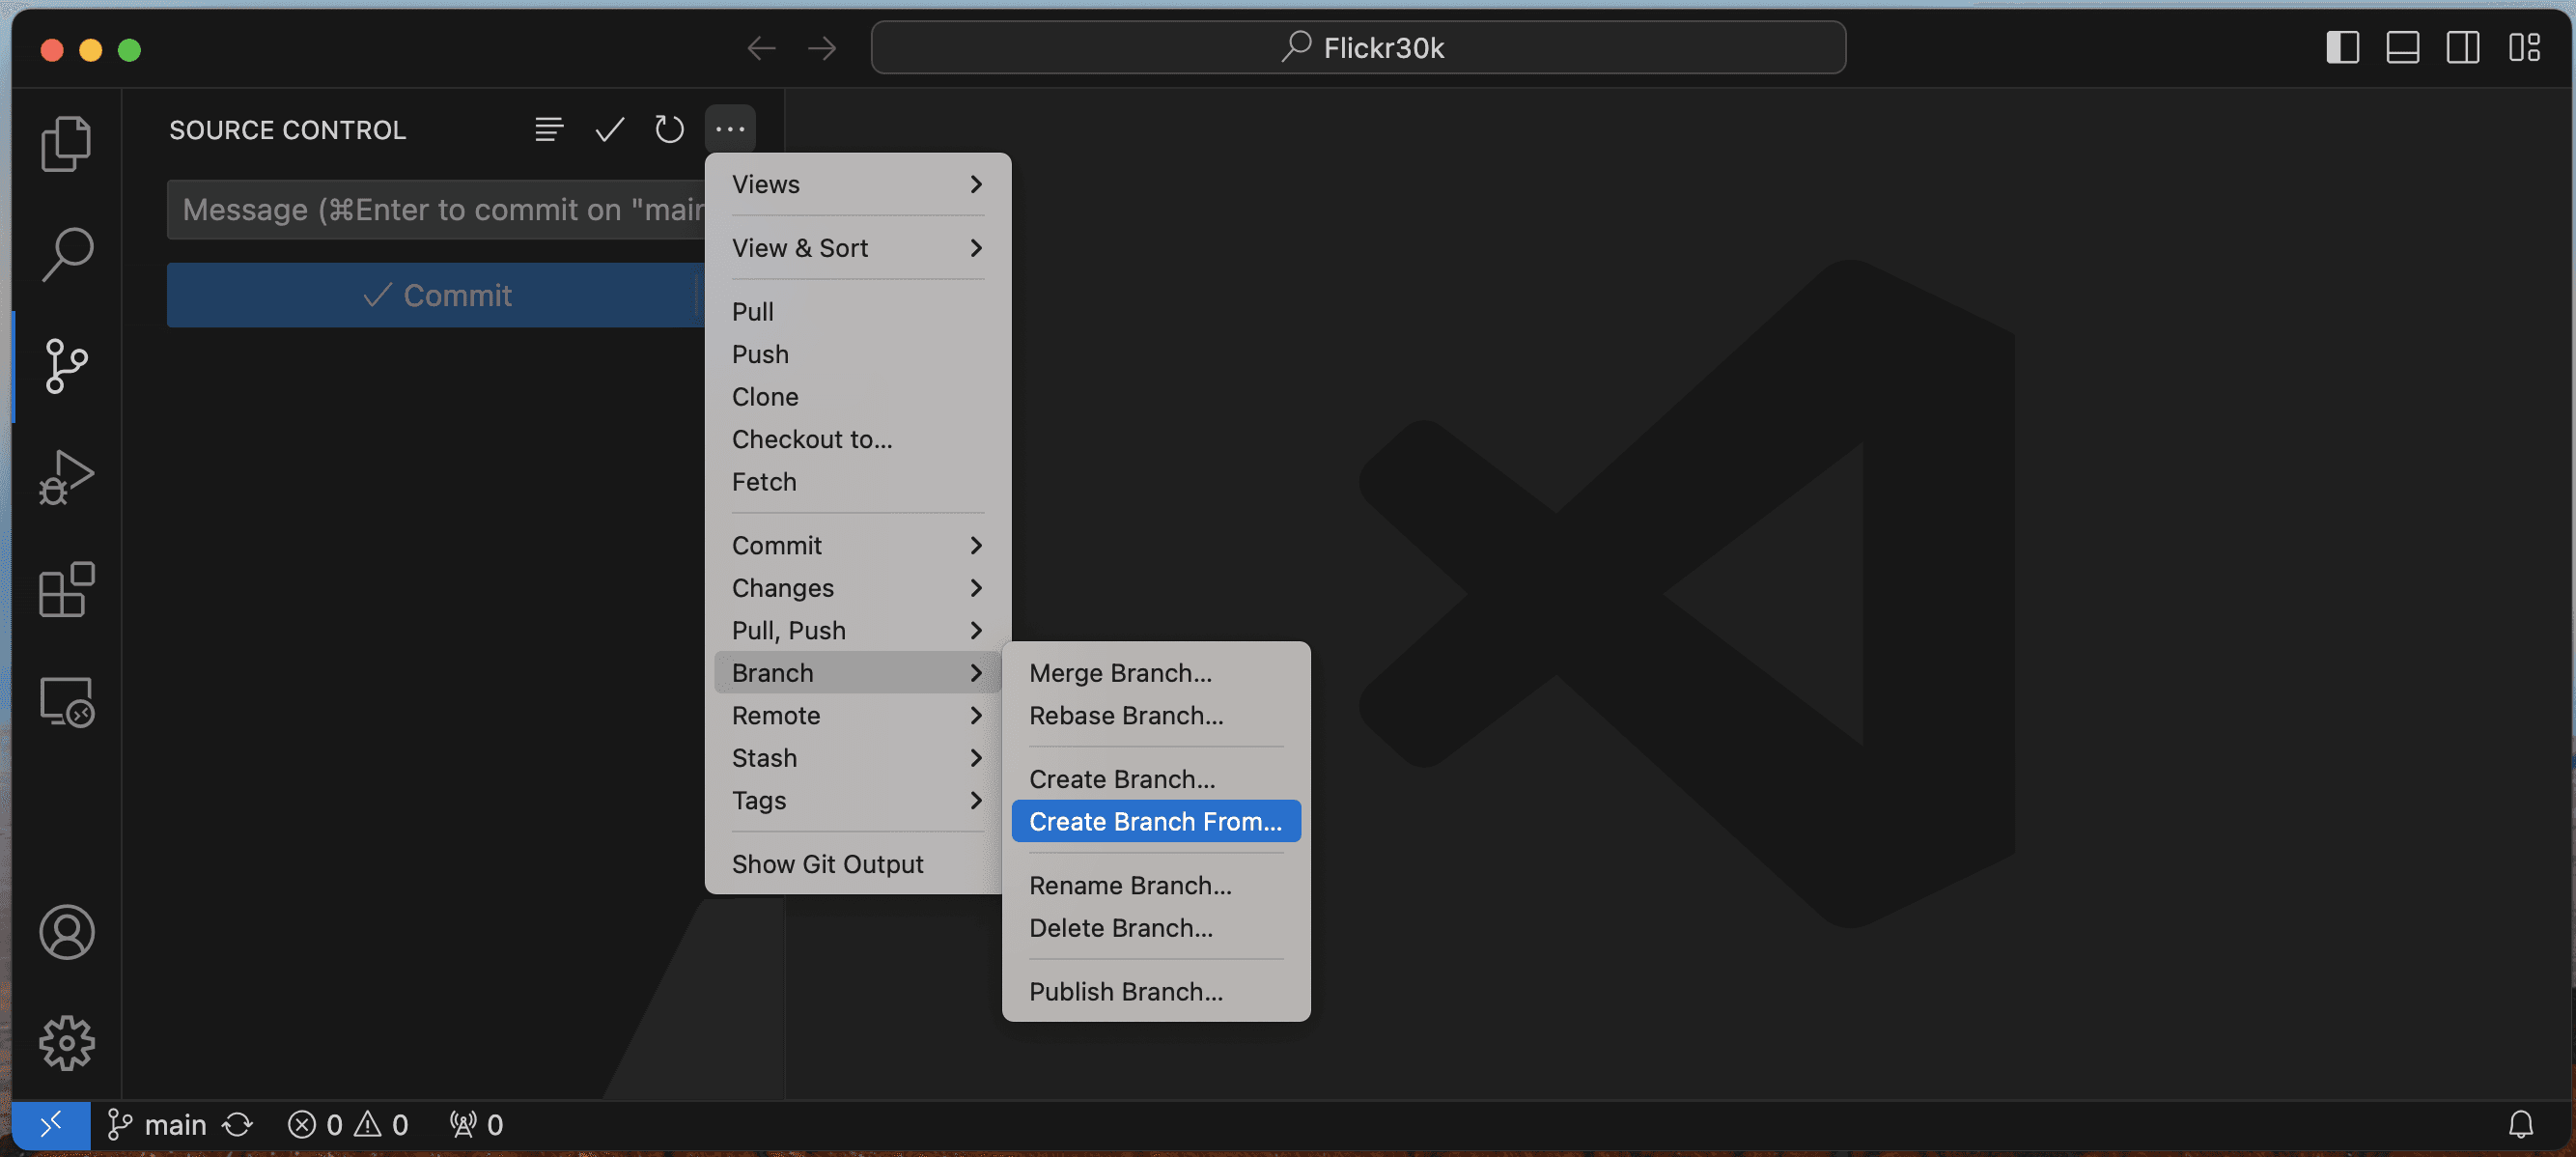
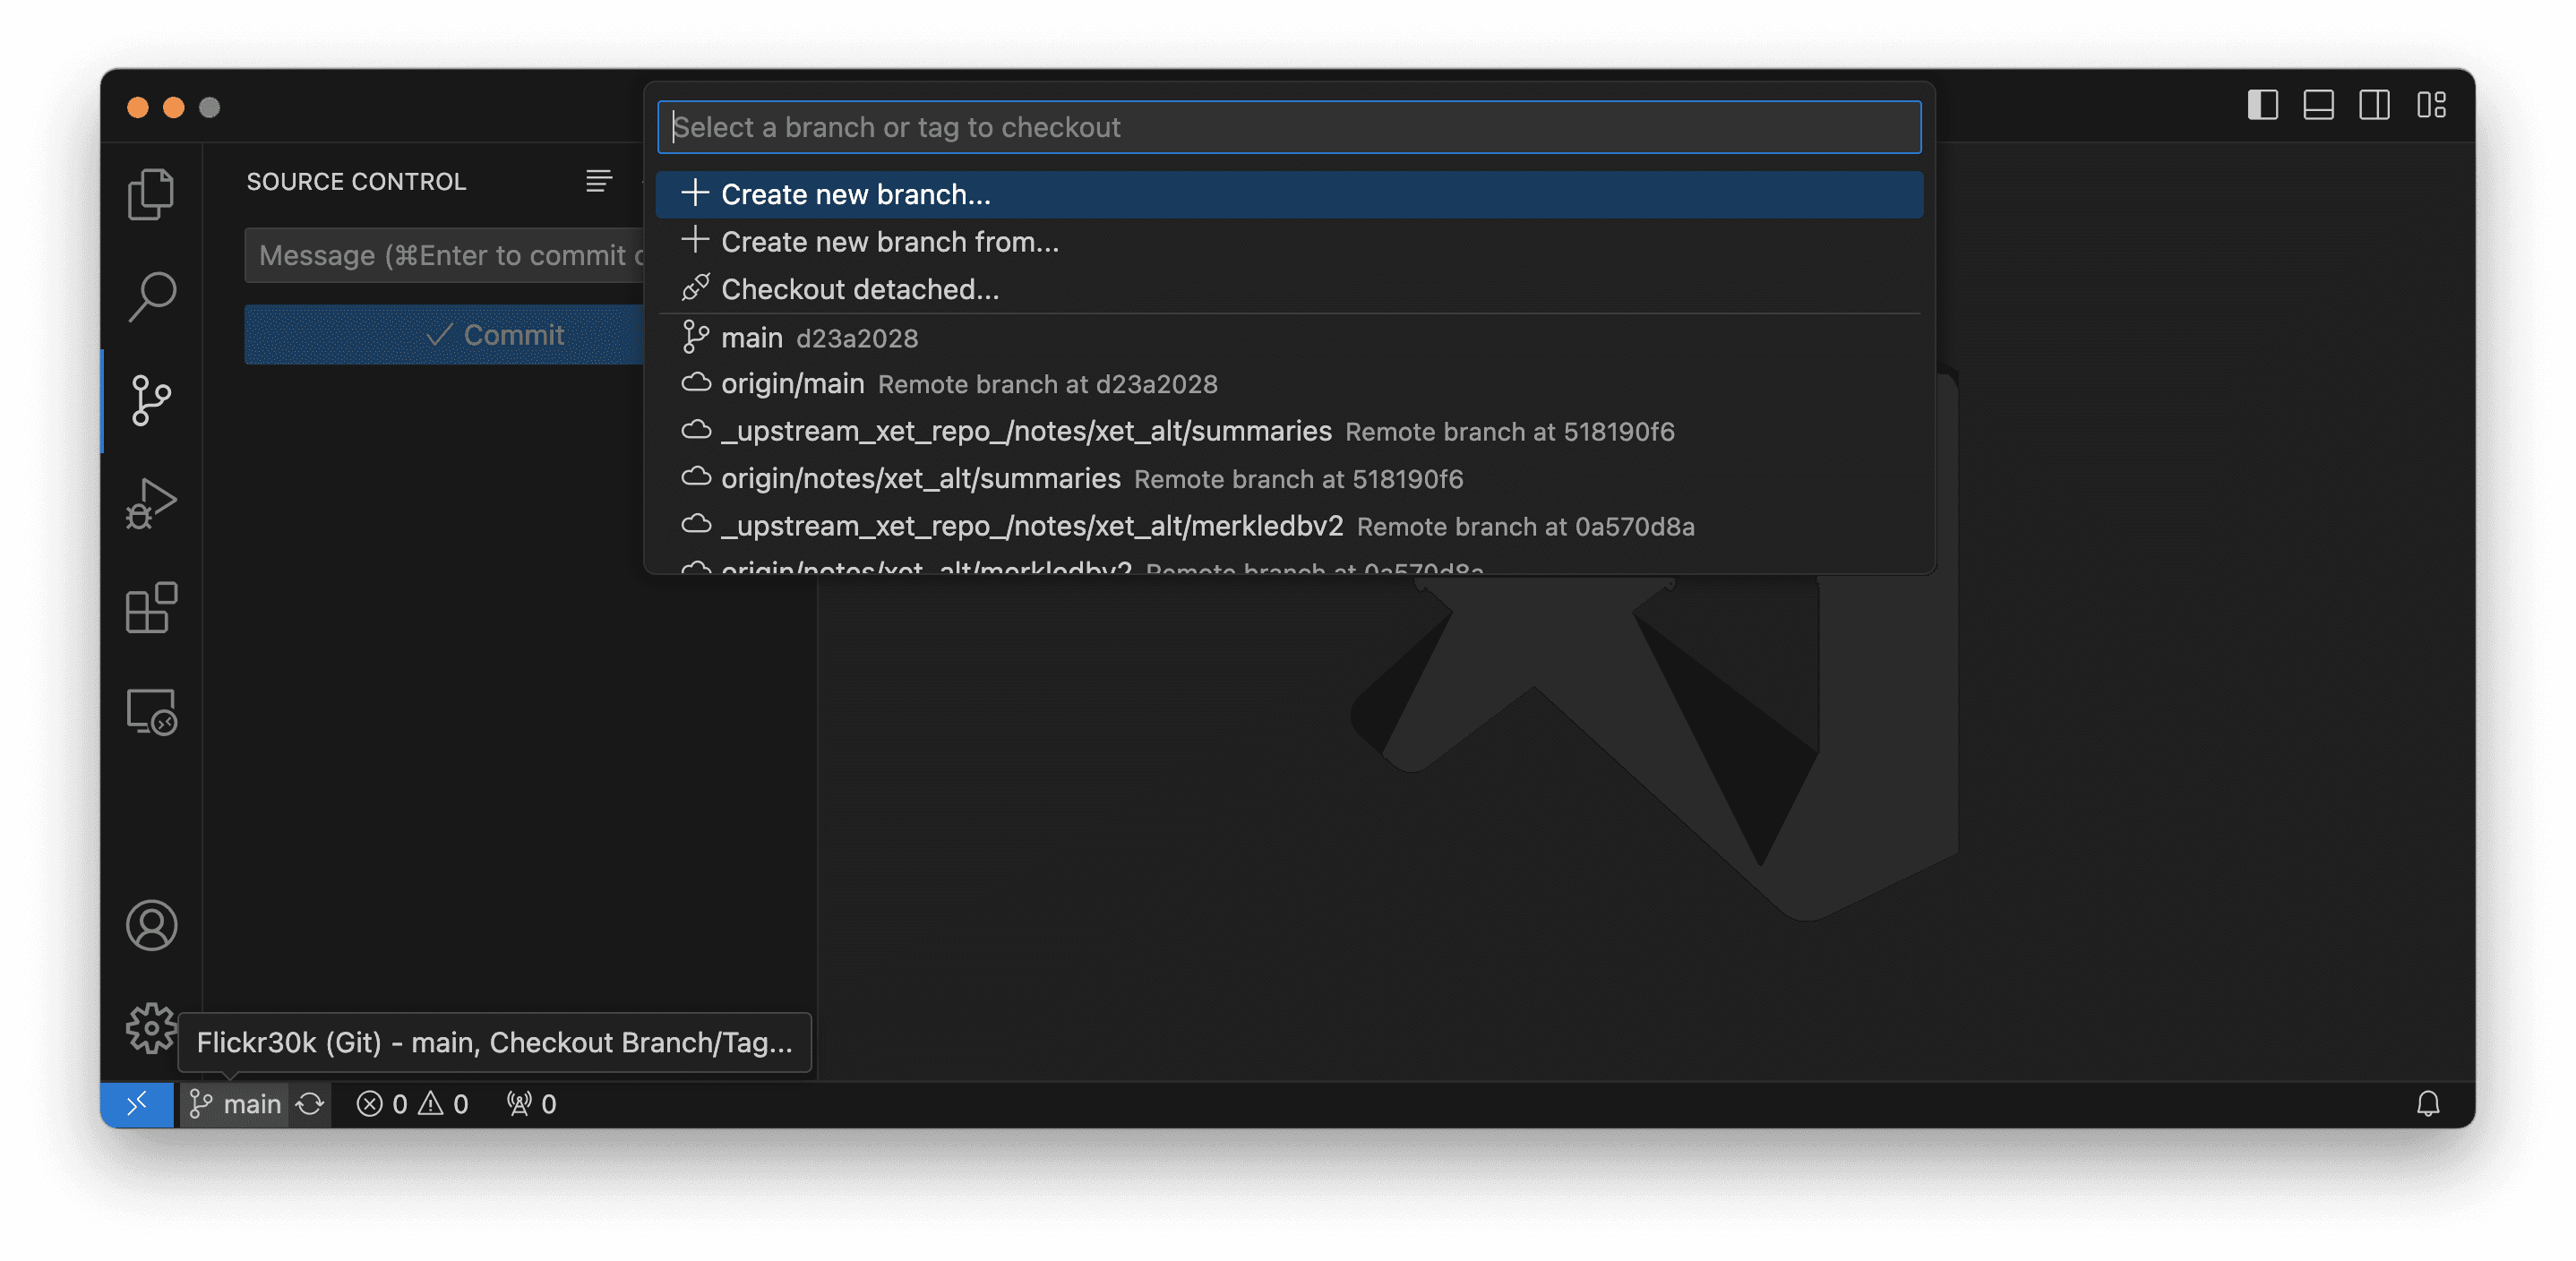
To create a new branch, click the "+" sign next to the branch. Or use the hamburger menu to find the Branch sub-menu.
Git Commit
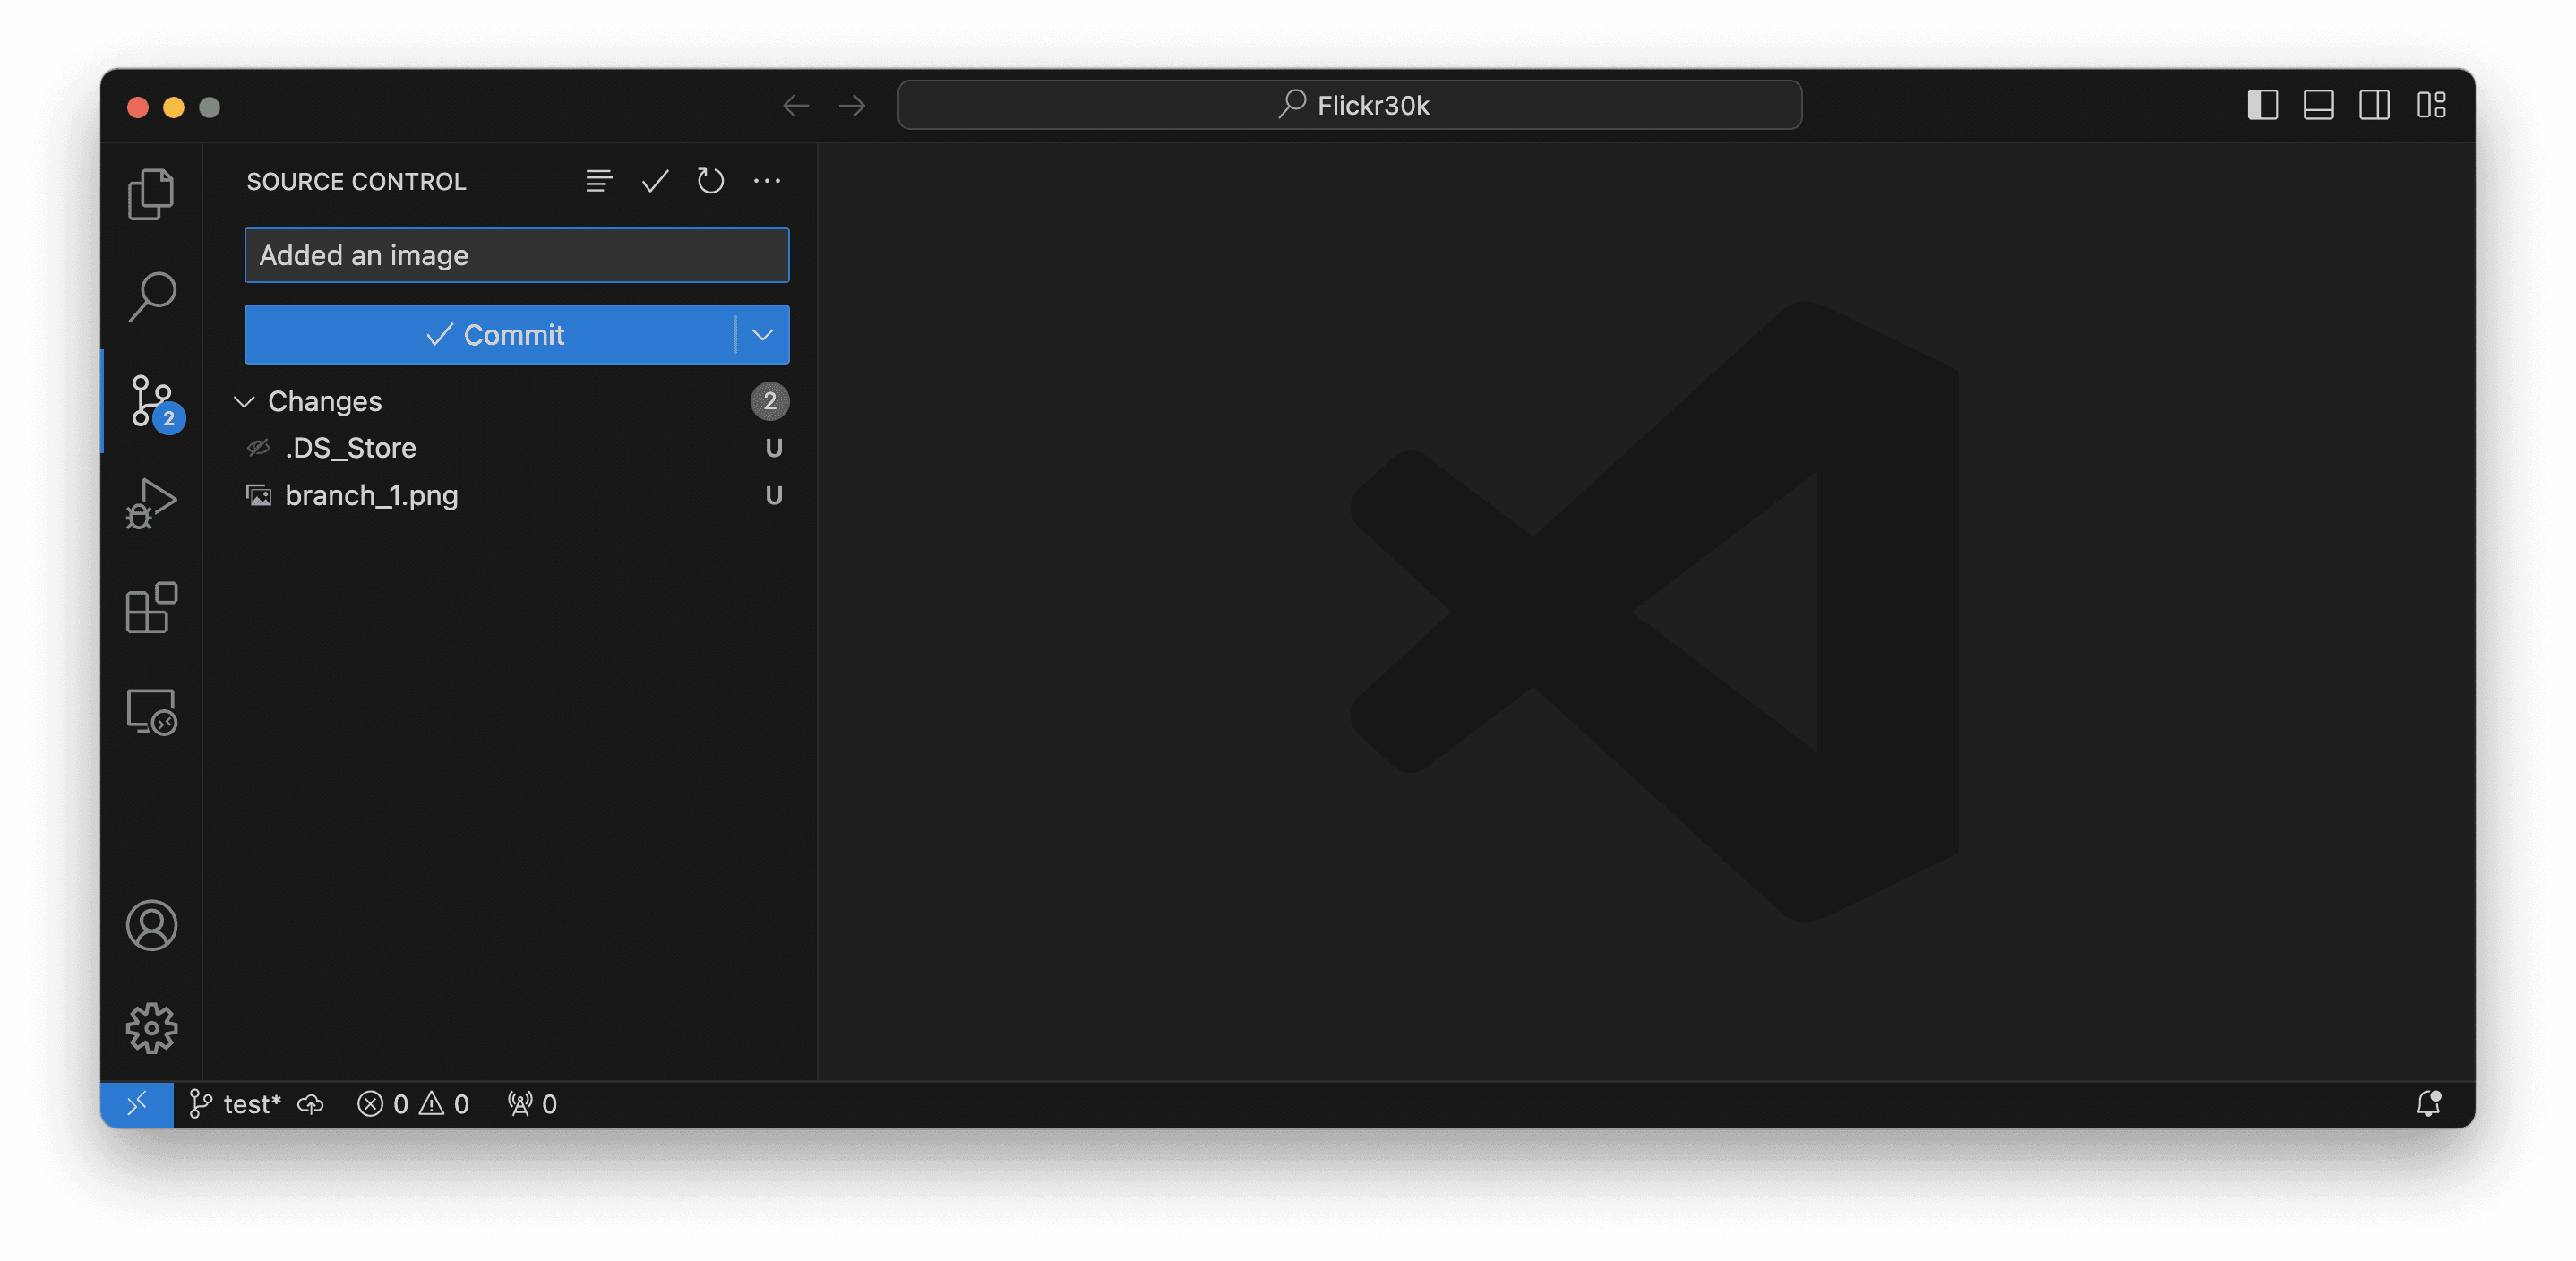
Make a change in your repo and you will see it in the Source Control tab. Write a commit message and press the button to commit the staged changes.
Git Push
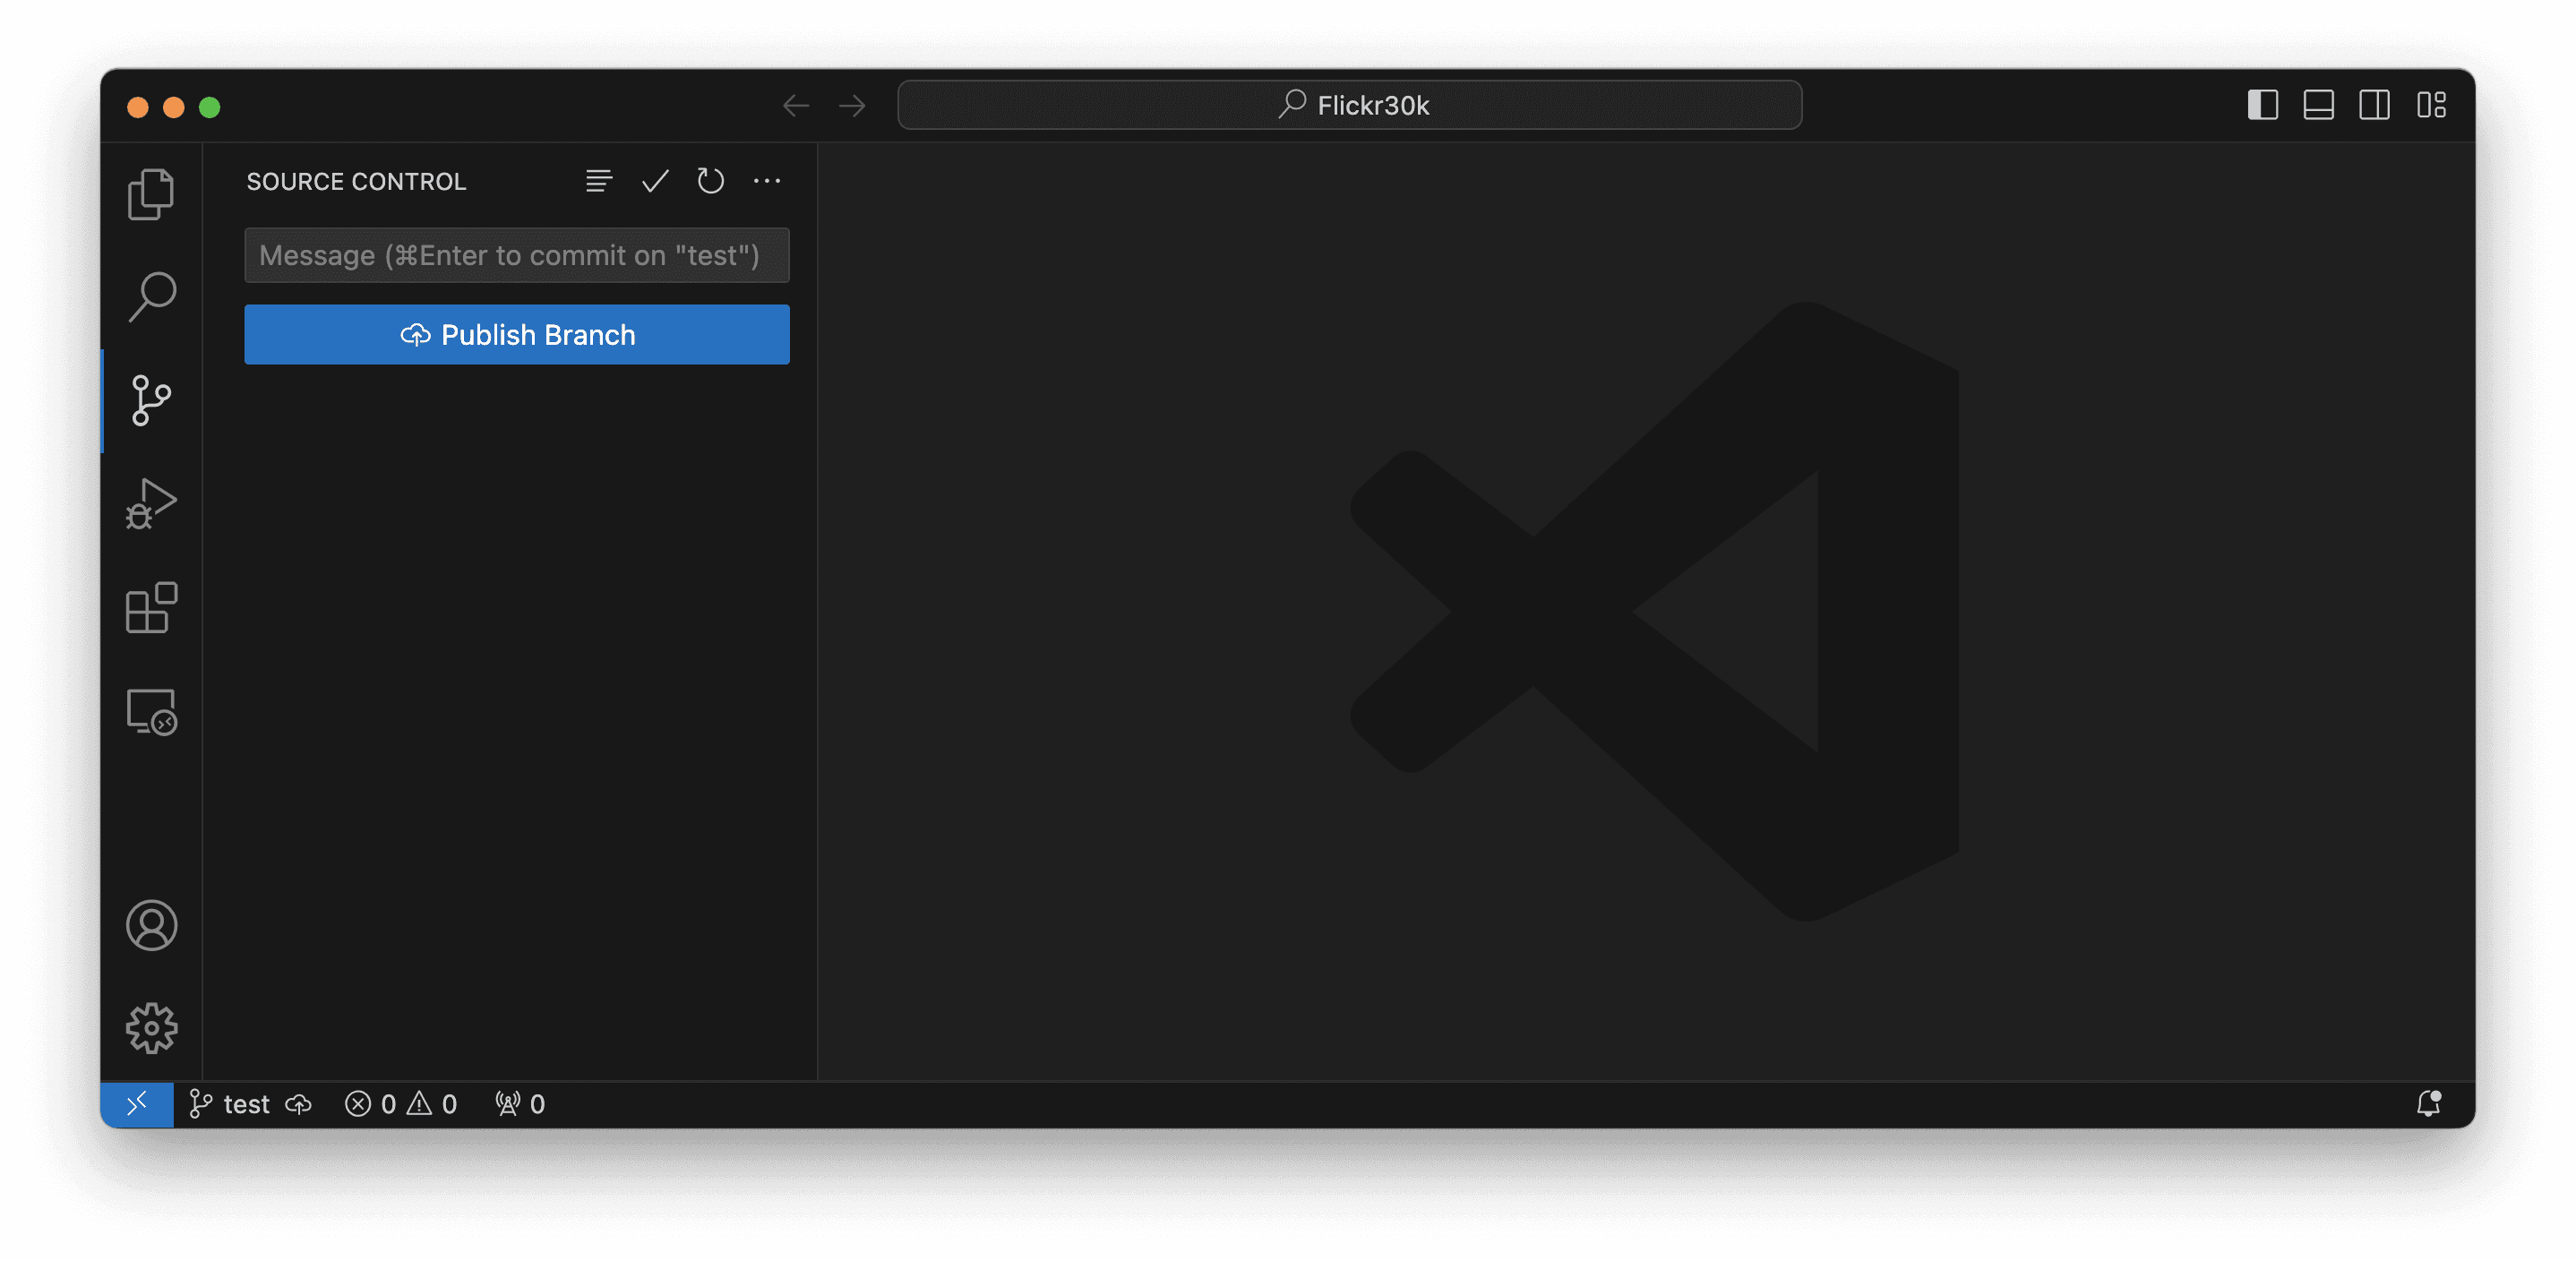
Finally, click Publish Branch to push it to your remote repository.
Next Steps
The Git plugin for VS Code has a lot of features, including friendly interfaces for:
resolving merge conflicts
handling 3-way merges
viewing diffs
browsing the commit history as a timeline
I recommend reading the VS Code documentation to learn more about what's capable.
If you have questions or run into issues, reach out to us in our Slack community! You can also file bugs in our public GitHub issue tracker.
Share on


